
TIME EXPOSURES
TIME EXPOSURES - getting in control
This is where we can start to control what we see by setting the camera to manual operation. This means we can extend the shutter time, or aperture to whatever we want. In this case to either ‘pull out’ dim lighting, or to record movement over a set period at night.
You will need a tripod, plus a shutter release either a tethered cable type or BlueTooth. The point is not to move the camera during the exposure otherwise you will not get straight lines from the moving lights you want to record. Focus on your subject then turn auto focus off. With your camera set to MANUAL, try a test of say 5 seconds with a small aperture like f.22 first to see what the results are, then vary it from there. Depending on how dark the night is, you may find a 30 second exposure would be better, so a test is a good idea to start with.
Lets look at some examples.
A. Here is a procession of people holding candles at a midnight mass (Sth Cadbury church, Somerset UK), slowly walking the length of a darkened church. My camera, on a tripod, was at the far end of the church set for an exposure of one minute, and this was the result. I had walked the aisle previously and figured a minute would work. Even though the candle light has illuminated some of the standing congregation, it has not recorded their features, due to their movement. It is interesting to see how many of the congregation have kept relatively still.
B & C. I used a similar approach for both of these taken around midnight. I timed a few cars going past to see how long it took to enter and leave my field of view and figured 15 seconds would be good. I then did a test exposure for the night sky and it was about the same. The only other illumination was the light of the Moon. So I used a small aperture of f.22 and exposed for 15 seconds and that was it.


D. This was a 40 second exposure at 02:00 at f.22. During the exposure I shone a torch over the foliage on the right of the frame for
about one second whilst moving it slowly. This has the effect of ‘painting with light’ and is quite effective. (Moulin Cajarc,
Cordes-sur-Ciel, France)
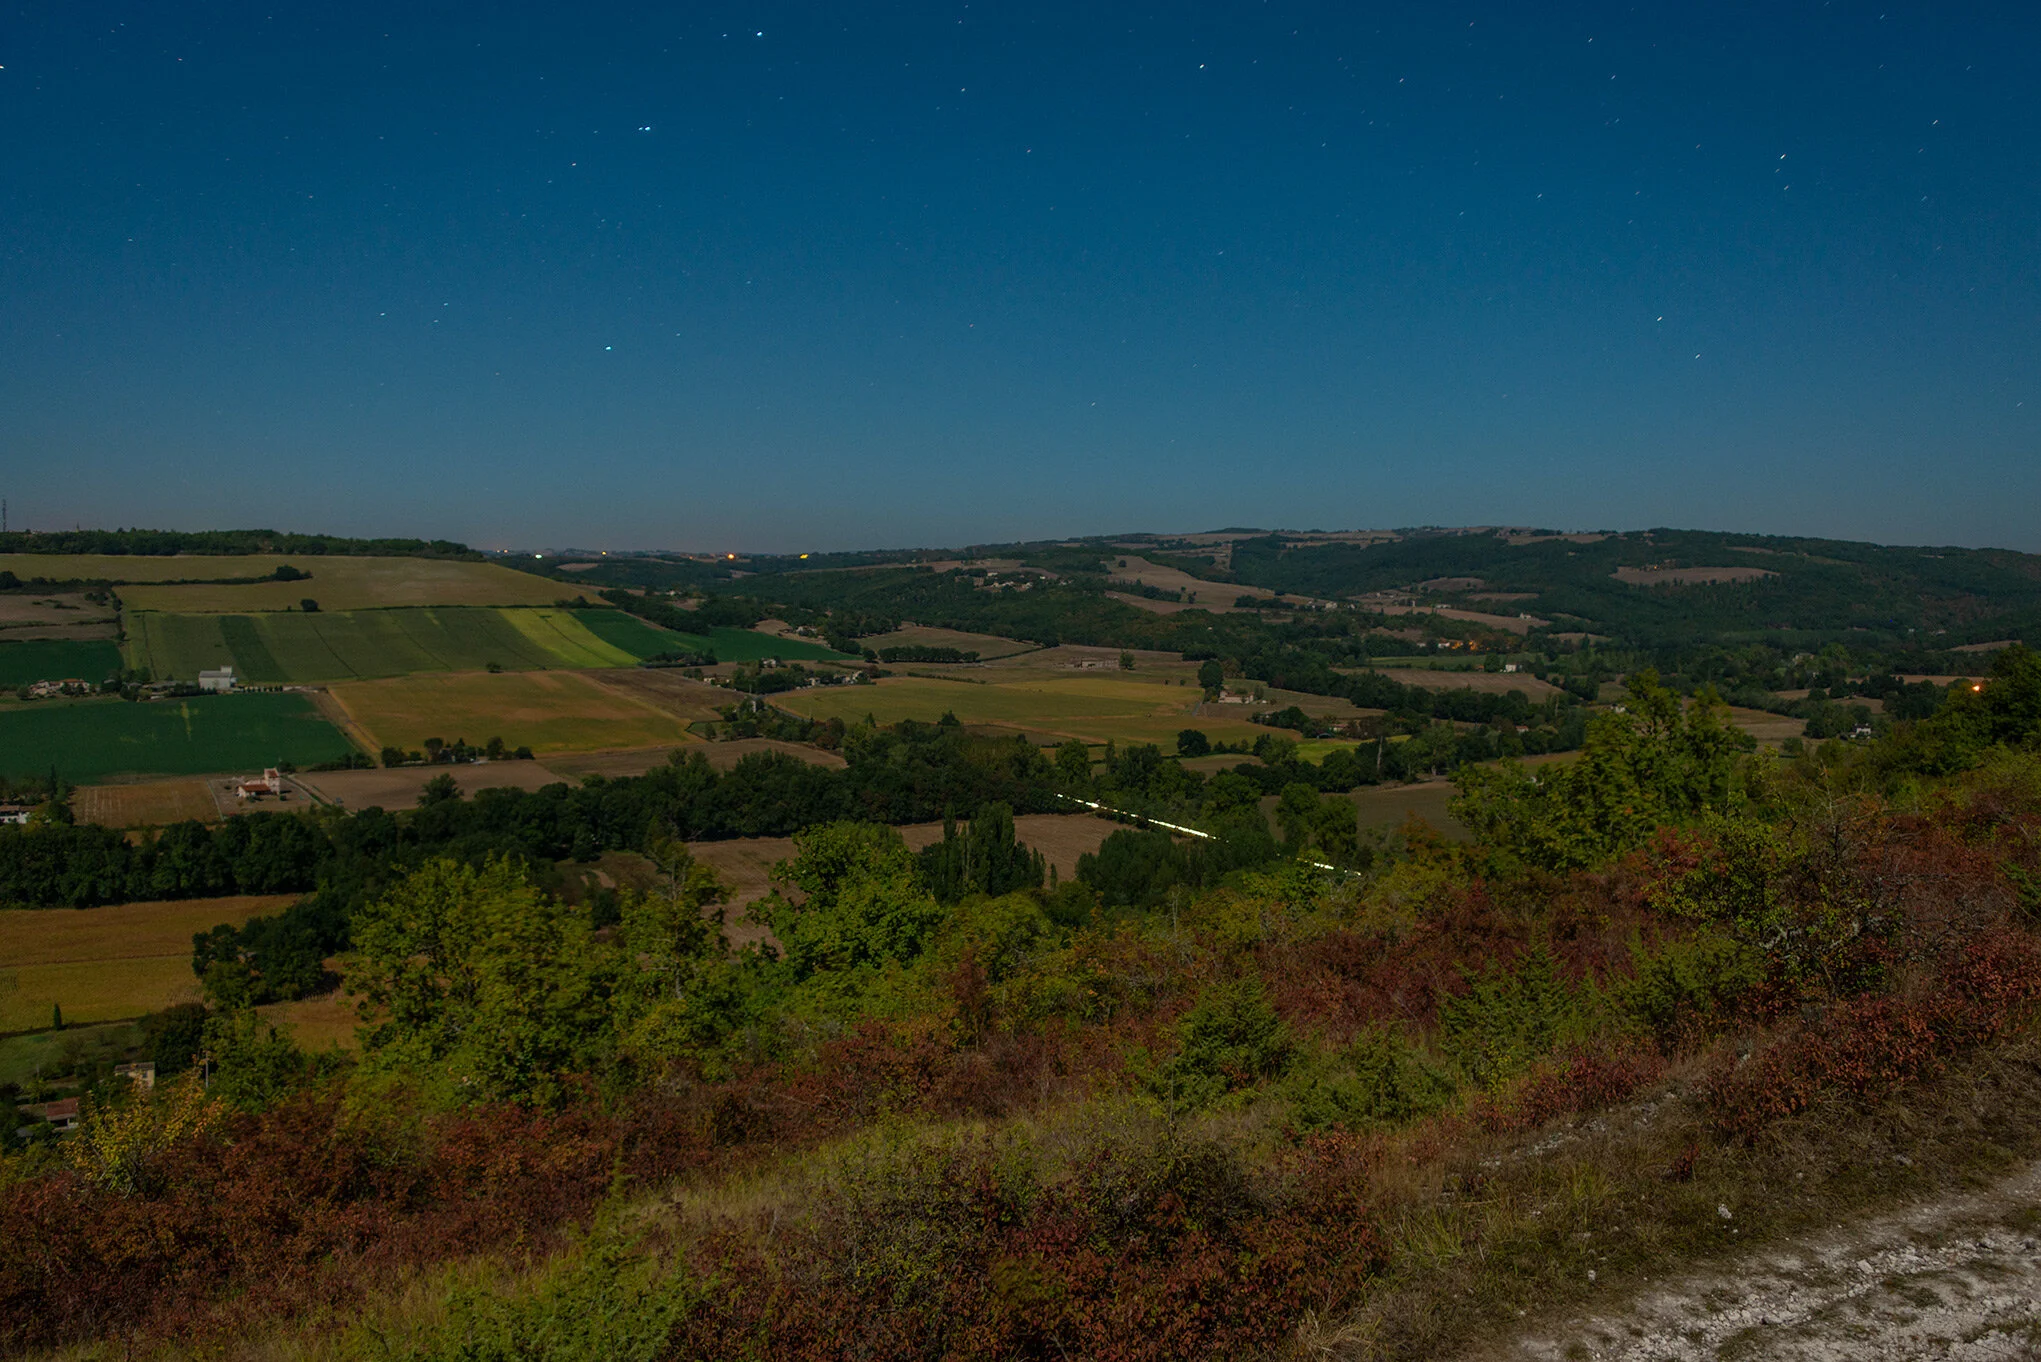
E. Similar to D but with a 60 second exposure. Note the star streaks, or the record of the earth’s movement in relation to the stars.
Here I shone the torch for about 15 seconds as it was so dark. Mundaring Weir, Western Australia.
F & G. A long exposure under moonlight to record the lights of a car on a country road (Cordes-sur-Ciel, France).
H. A 10 second exposure to capture the light of a car plus the internal lights of an old barn (Cordes-sur-Ciel, France).
I. As above. Western Australia.
J. This was a 40 second exposure with no additional lighting apart from the stars and the odd cafe or two in the distance.
Note the line at the top where a satellite has passed overhead.
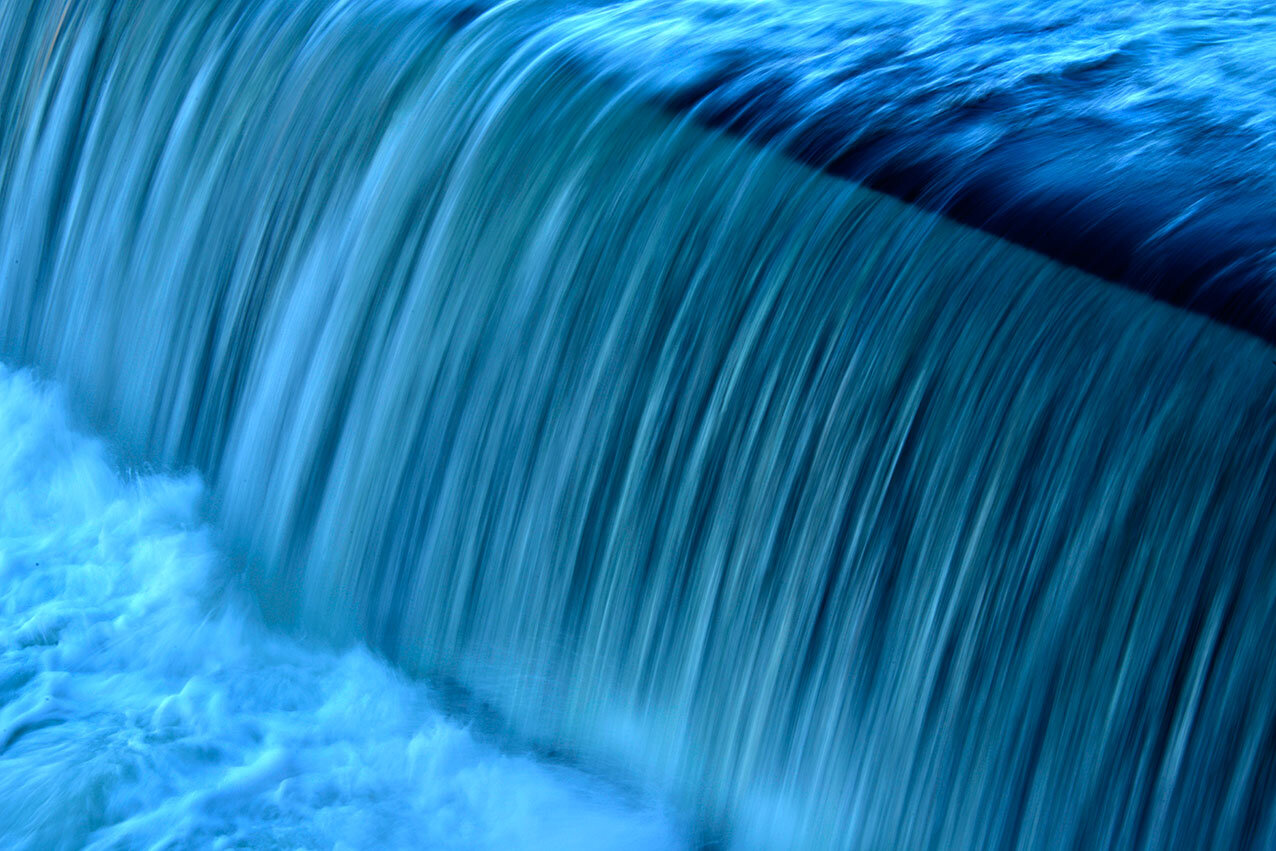
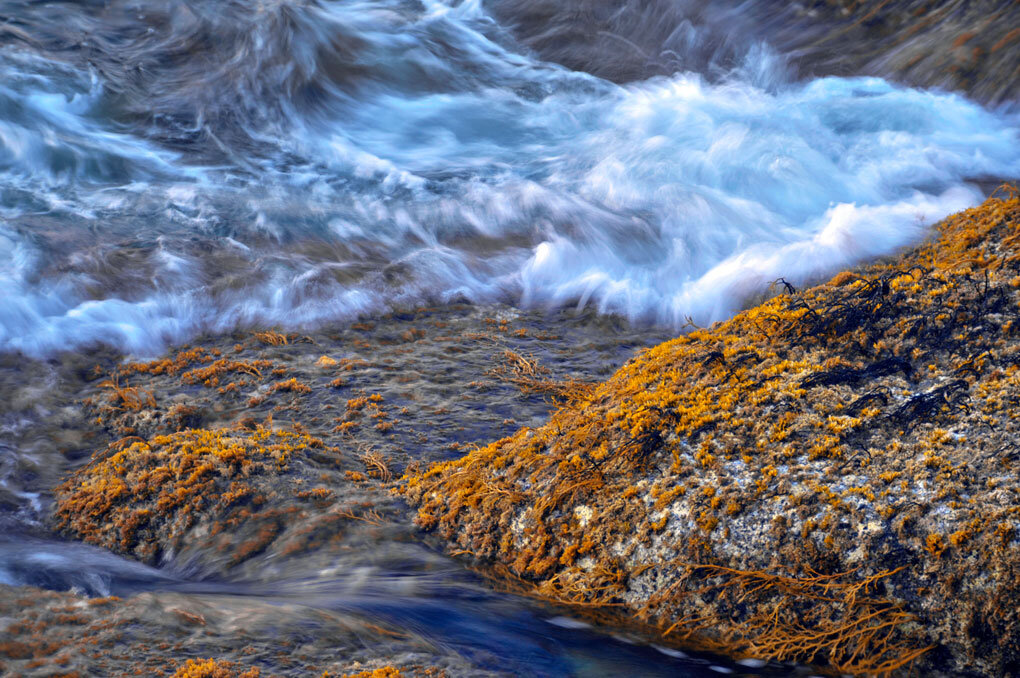
How to blur moving water
Apart from capturing low light situations, time exposures can give movement to water or any other moving element. Water will have an almost smoke-like appearance in prortion to how long you expose it for. The longer the exposure the more the smoke-like blur. During the day this can be a problem, as you will need a slow shutter speed of around one second or more. So there are a few things to consider. The more overcast the sky the better. You will need a tripod or somewhere solid to place your camera. An external shutter release if possible, plus if you have have one, a neutral density filter. The latter will limit the light entering your camera by about one to two stops, enough to get a one second exposure.


THE METHOD - daytime
With your camera on a tripod, set the camera on auto first at f.22 with an ISO of 100, with a shutter speed of around 1 second to set the focus and to see what the exposure reading is. Try a shot and see if it is too light or too dark. Then set the camera to Manual and dial in these same settings. Once you have the correct focus and exposure, turn auto focus off. If you can’t get a one second exposure, try taking the ISO down as far as you can, to 50 or lower. The idea here is to not move your camera once it’s set up and ready to go, so an external cabled or Bluetooth cable release is ideal for this. In post production you can remove the blue cast on the water if you wish. All of these frames were shot with a 200mm lens, with 100 ISO, one second at f.22.
Go to the neutral density (ND) filter page.
All photography and information © Jon Davison 2022.
BACK TO MAIN MENU