
SHOE
PHOTOSHOP - Background replacement
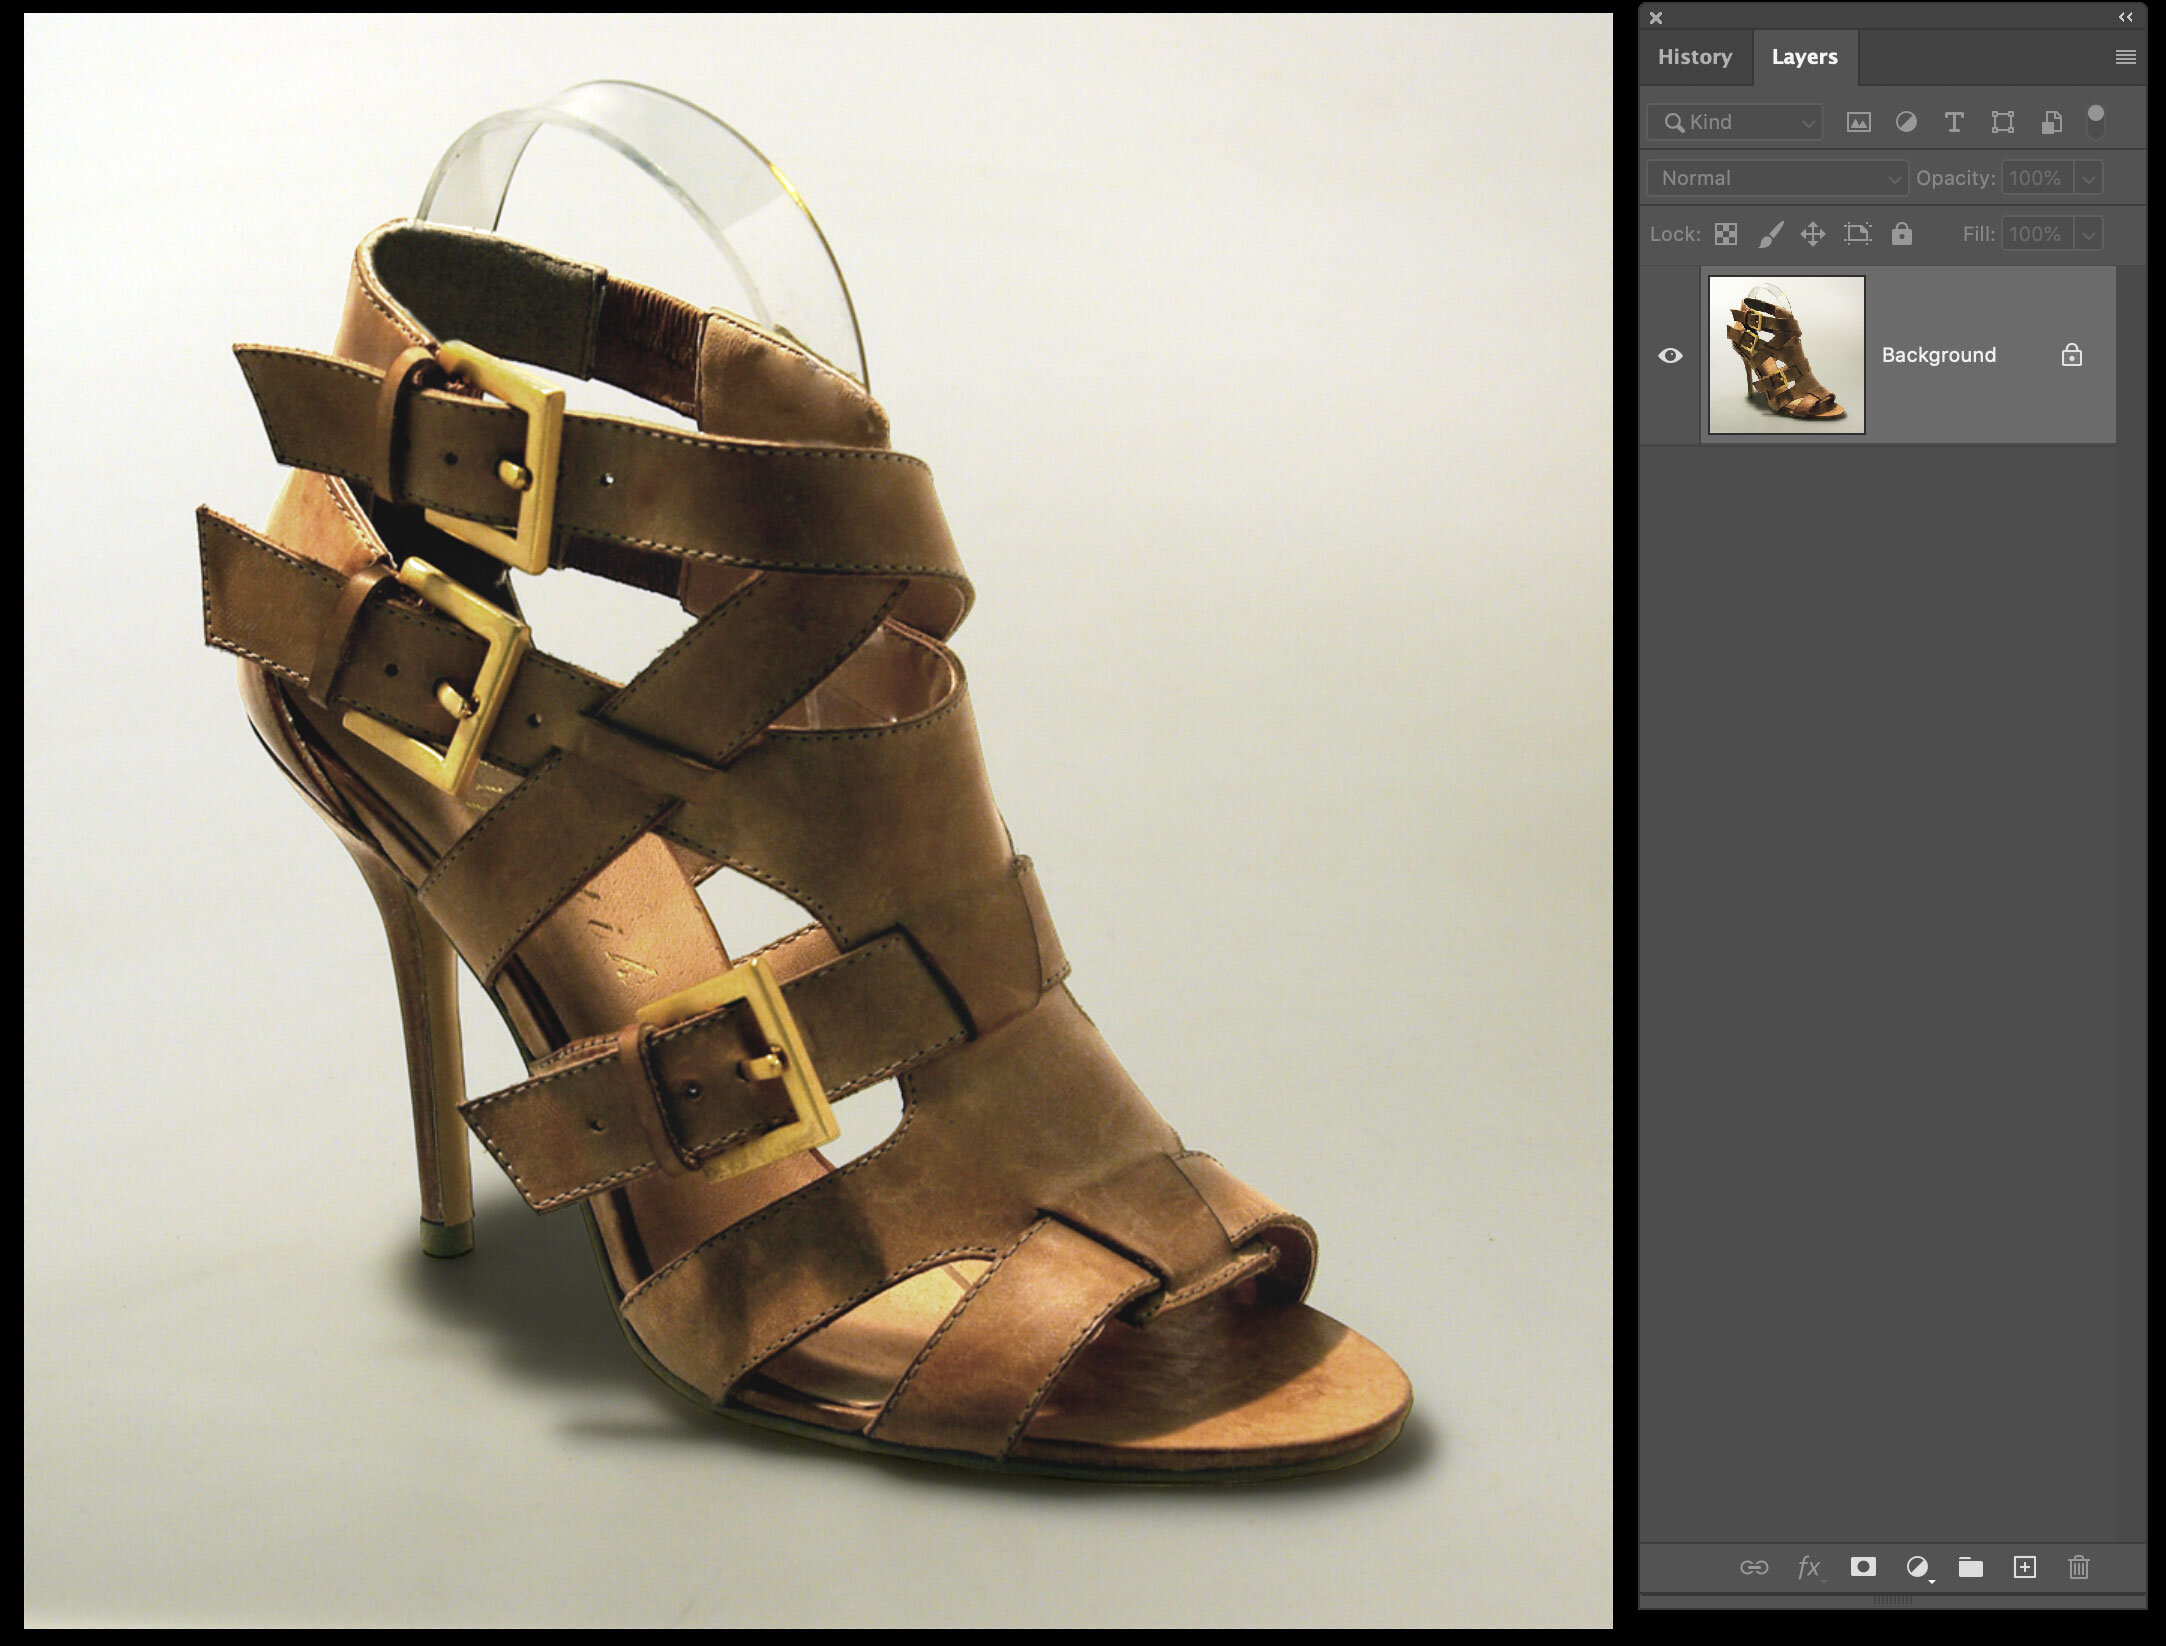
Once in a while you may find a situation where the client wants a nice clean shot of a product but you can’t take it to your studio or move it from where it is. I have encountered this a few times, so you just have to get clever. If you don’t have any green screen material with you, just shoot the subject on a plain background and use the smallest aperture you have, to get a good DoF. Later you can edit this by removing the background and cleaning the shot up. In this example we will use a shoe that I photographed and could not take it out of the location.
Let’s look at how to clean this image up, create a new background and remove the transparent plastic display inner.


Save the ‘ORIGINAL’ file to your desktop or work folder and open in Photoshop.
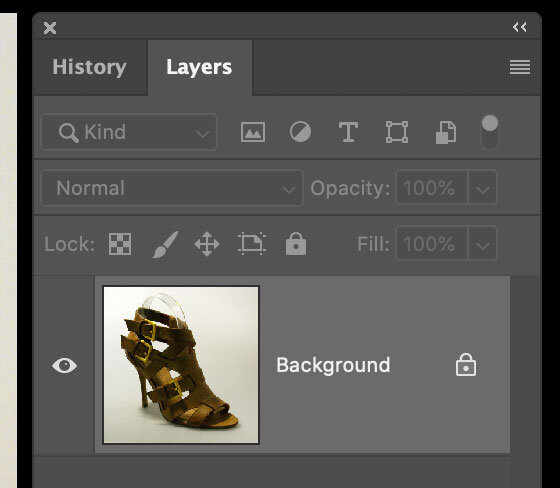
1 - 2. Unlock the layer by double clicking the Layer icon.
3 - 4. Use Highlight & Shadow to open up the image, so the shadow areas have more detail.
5 - 6. Start erasing the transparent plastic shoe inner, and use the Clone Tool to replace the areas inside the straps.
7. Create a new layer (Co-Shift-N) and fill it with black (press D to default your colours to B&W, then press X to bring black to the top).
.The black layer is just so you can see what you are doing and to make sure you have no artefacts left over.
8. Make another new blank layer (Co-Shift-N).
9. Select a blue tint, for instance 3b84f2. Making sure the second colour is white.
10. With your Gradient Tool (G) drag from top to bottom of your work area or vice-versa and you should get this result.
11. Make another new layer (Co-Shift-N) and draw a rough shadow area.
12. Default your colours again to black and white (D), now fill this selection with black and blur it.
13. Change the Opacity of this shadow to say 25%, then that’s it.
Save as a .jpg or if you want to save all the layers, save it as a .psd file.