PANORAMAS
PHOTOSHOP - Creating a panorama (Mac tutorial)
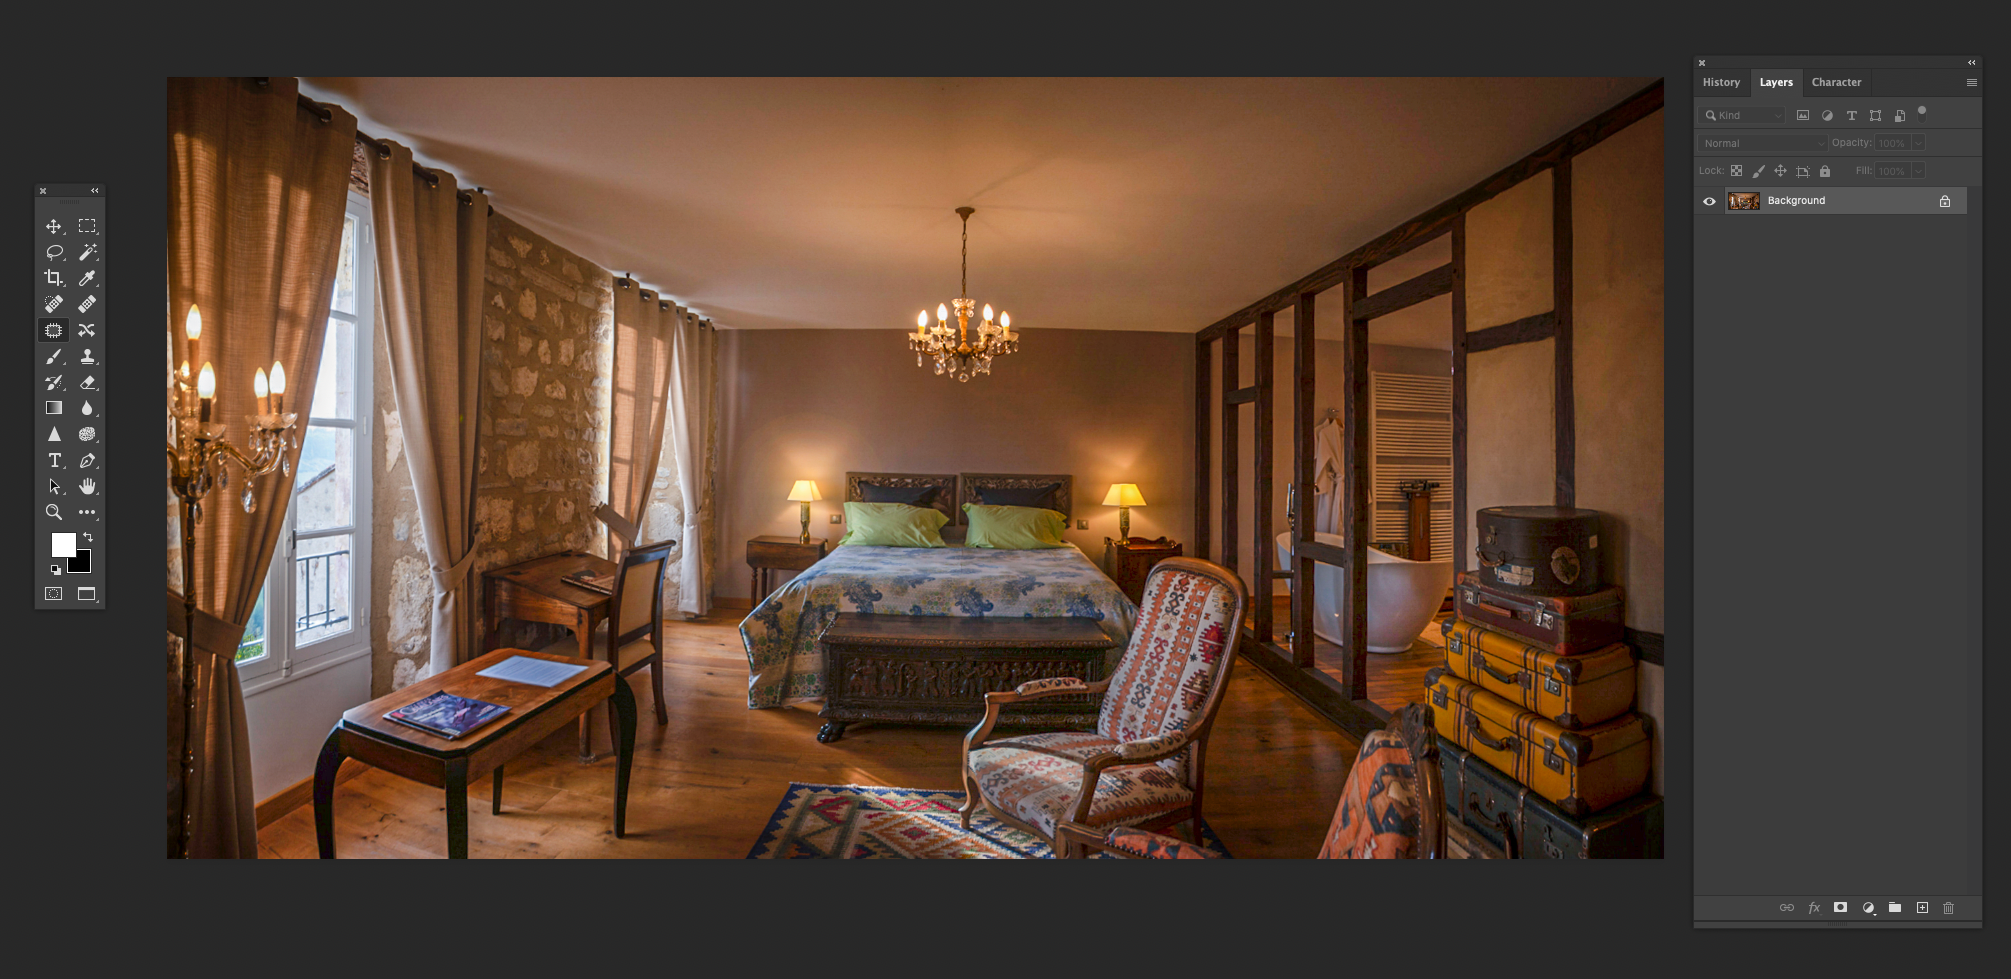
In this example you can create a panorama from just two frames. A room in a French Chambre d’hôtel ‘Le Secret du Chat’.
With my camera on a tripod I took one shot ranged left (1) and one ranged right (2), so that it included most of the room and showed the open bath room and general styling. Both overlap by about 50%. Note how dark the two work files are, this is because I always need to keep the highlights as much as possible. Shadows can always be opened up, but the highlights once burnt out … are lost.
Grateful thanks to Marie and Alain Chamary, Le Secret du Chat, Cordes-sur-Ciel, France.


Use the two above work files for this tutorial if you wish. Download them to your desktop or work folder of your choice.
METHOD
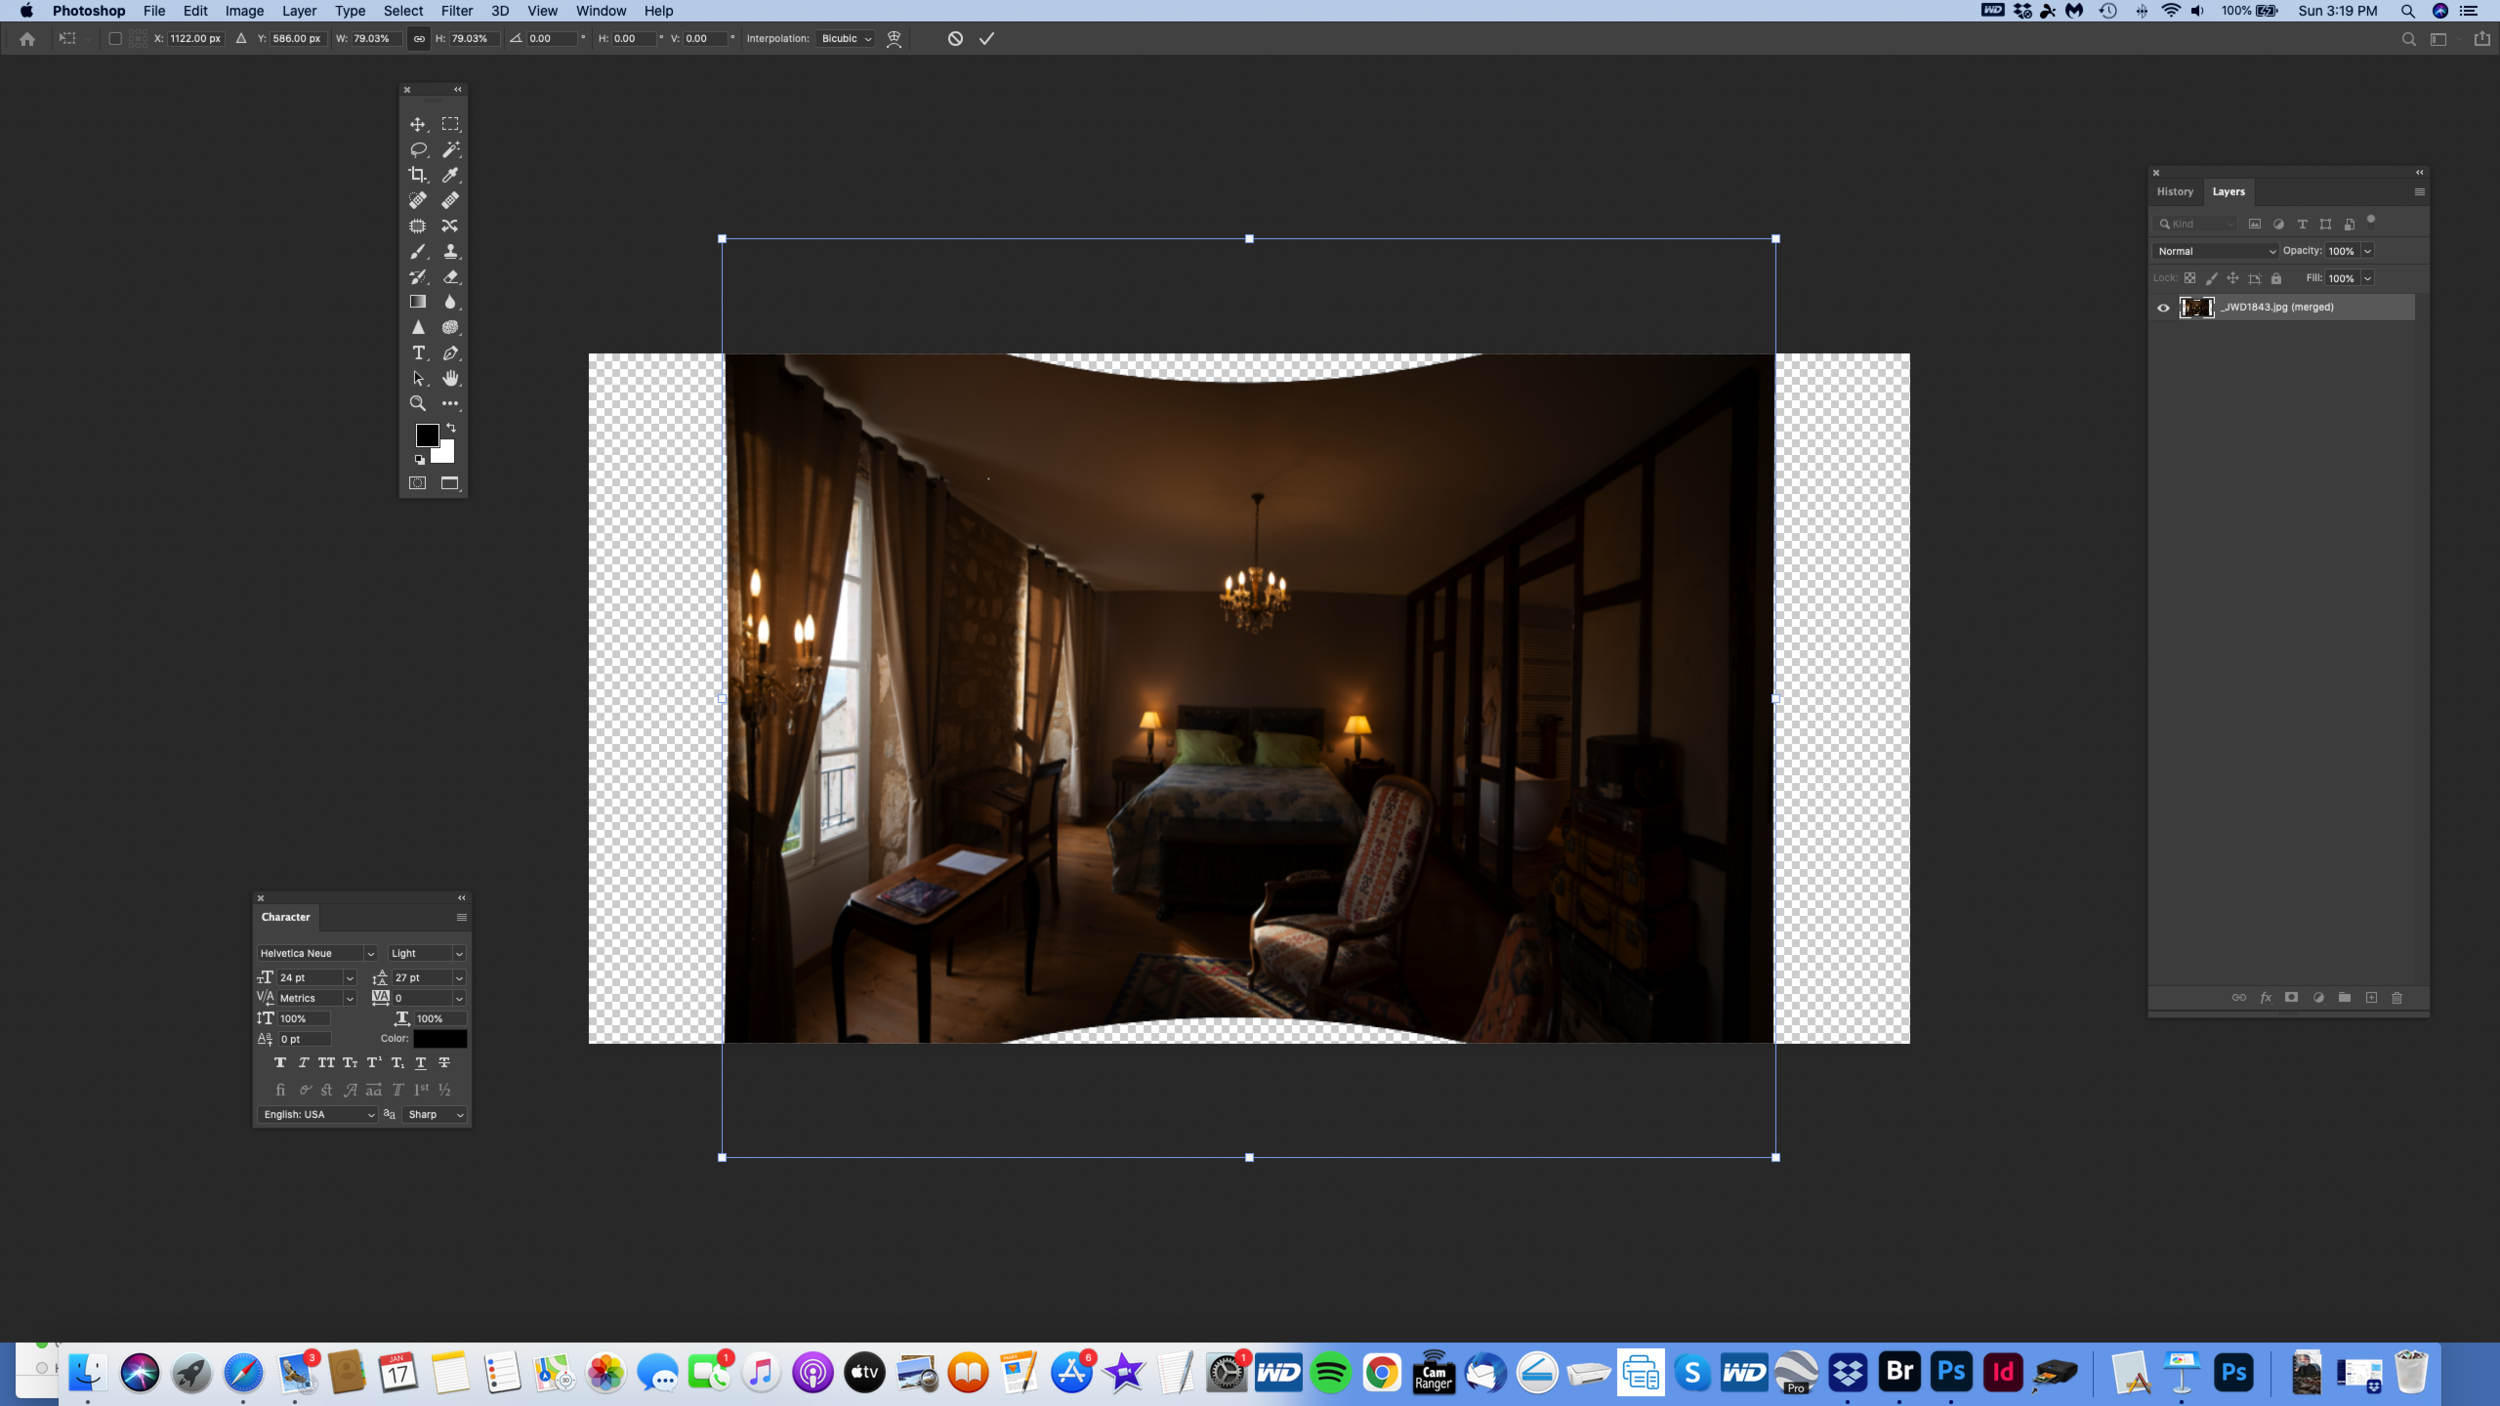
a - e. In Photoshop go FILE - AUTOMATE - PHOTOMERGE. This gives you a dialogue window to search for the above files.
d - e. Once selected (with the same settings as you see in the images) Photoshop will create the panorama by itself.
Note how dark it is, this is because I wanted to keep the highlights. The shadows can always be opened up, the highlights
once lost … are gone.
f - g. Next we need to flatten the layers to one. In the Layers Palette, go MERGE VISIBLE.
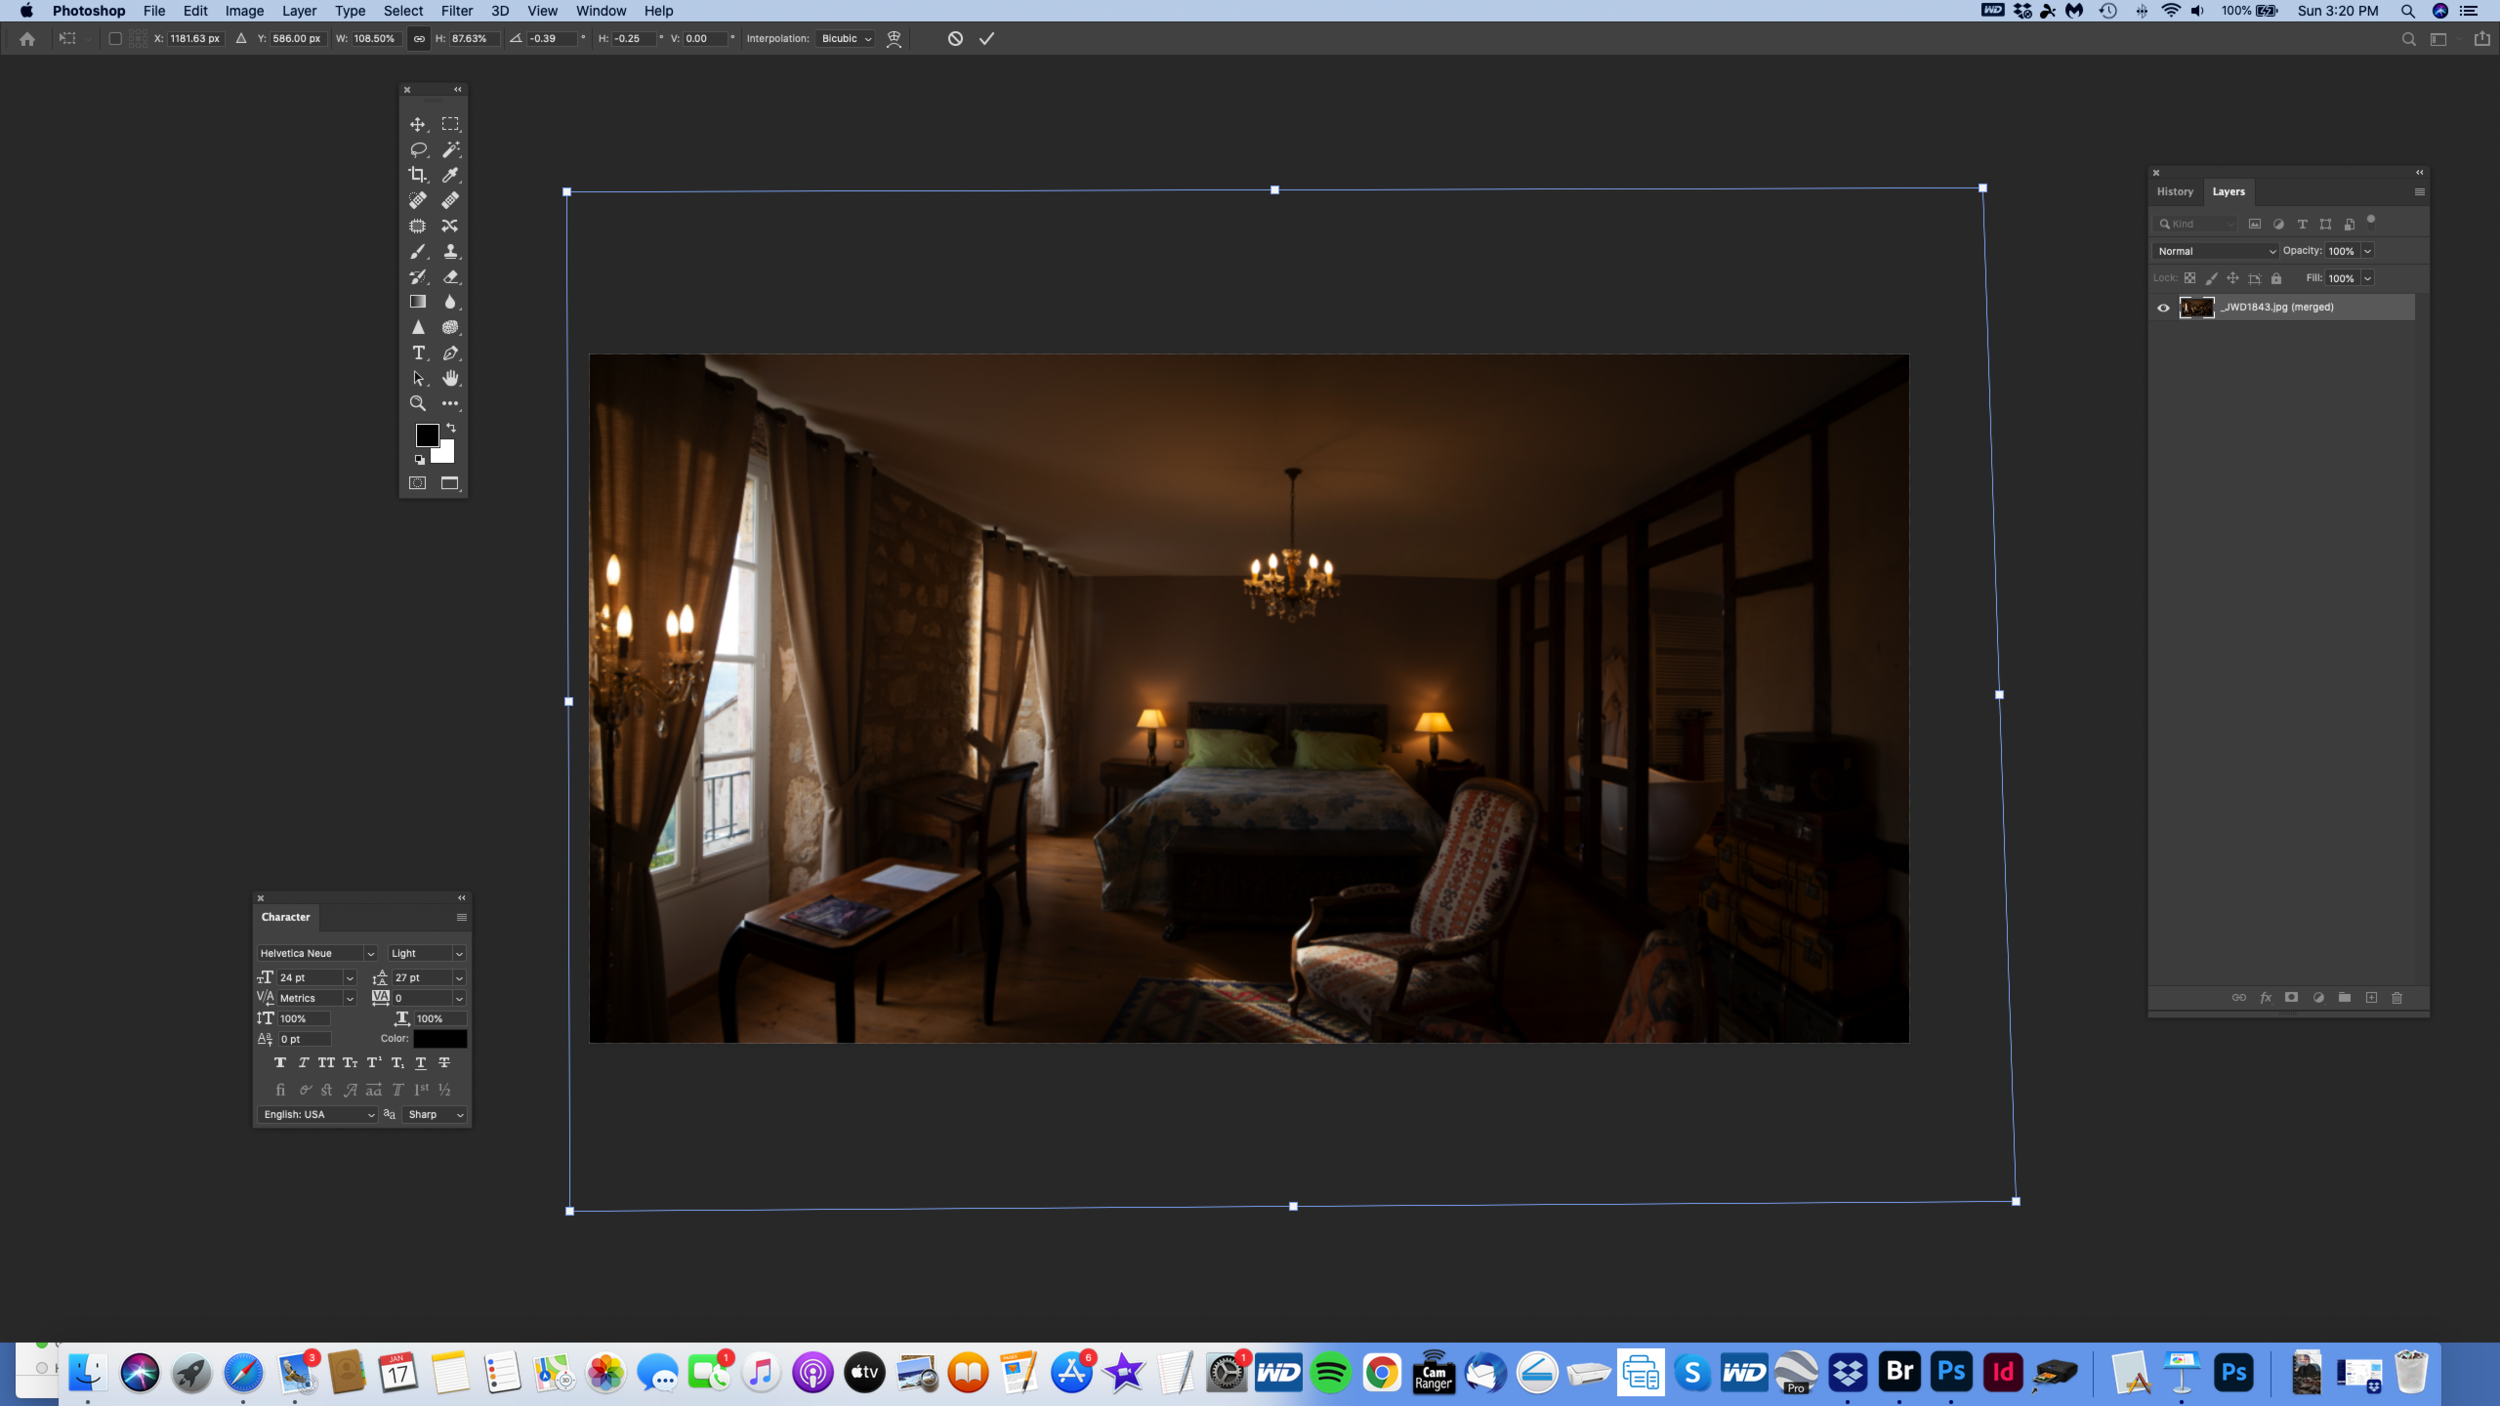
j - k. Then you can adjust the perspectives and stretch it to fill the frame; EDIT - TRANSFORM - WARP. Drag each corner the same as in the image.
Then stretch it horizontally to fill the frame. Co - T (finger on the Command key and drag each edge).
l. Now save the file; FILE - SAVE AS (panorama.jpg). This is so you can open it as a Camera Raw file to adjust the tonality.
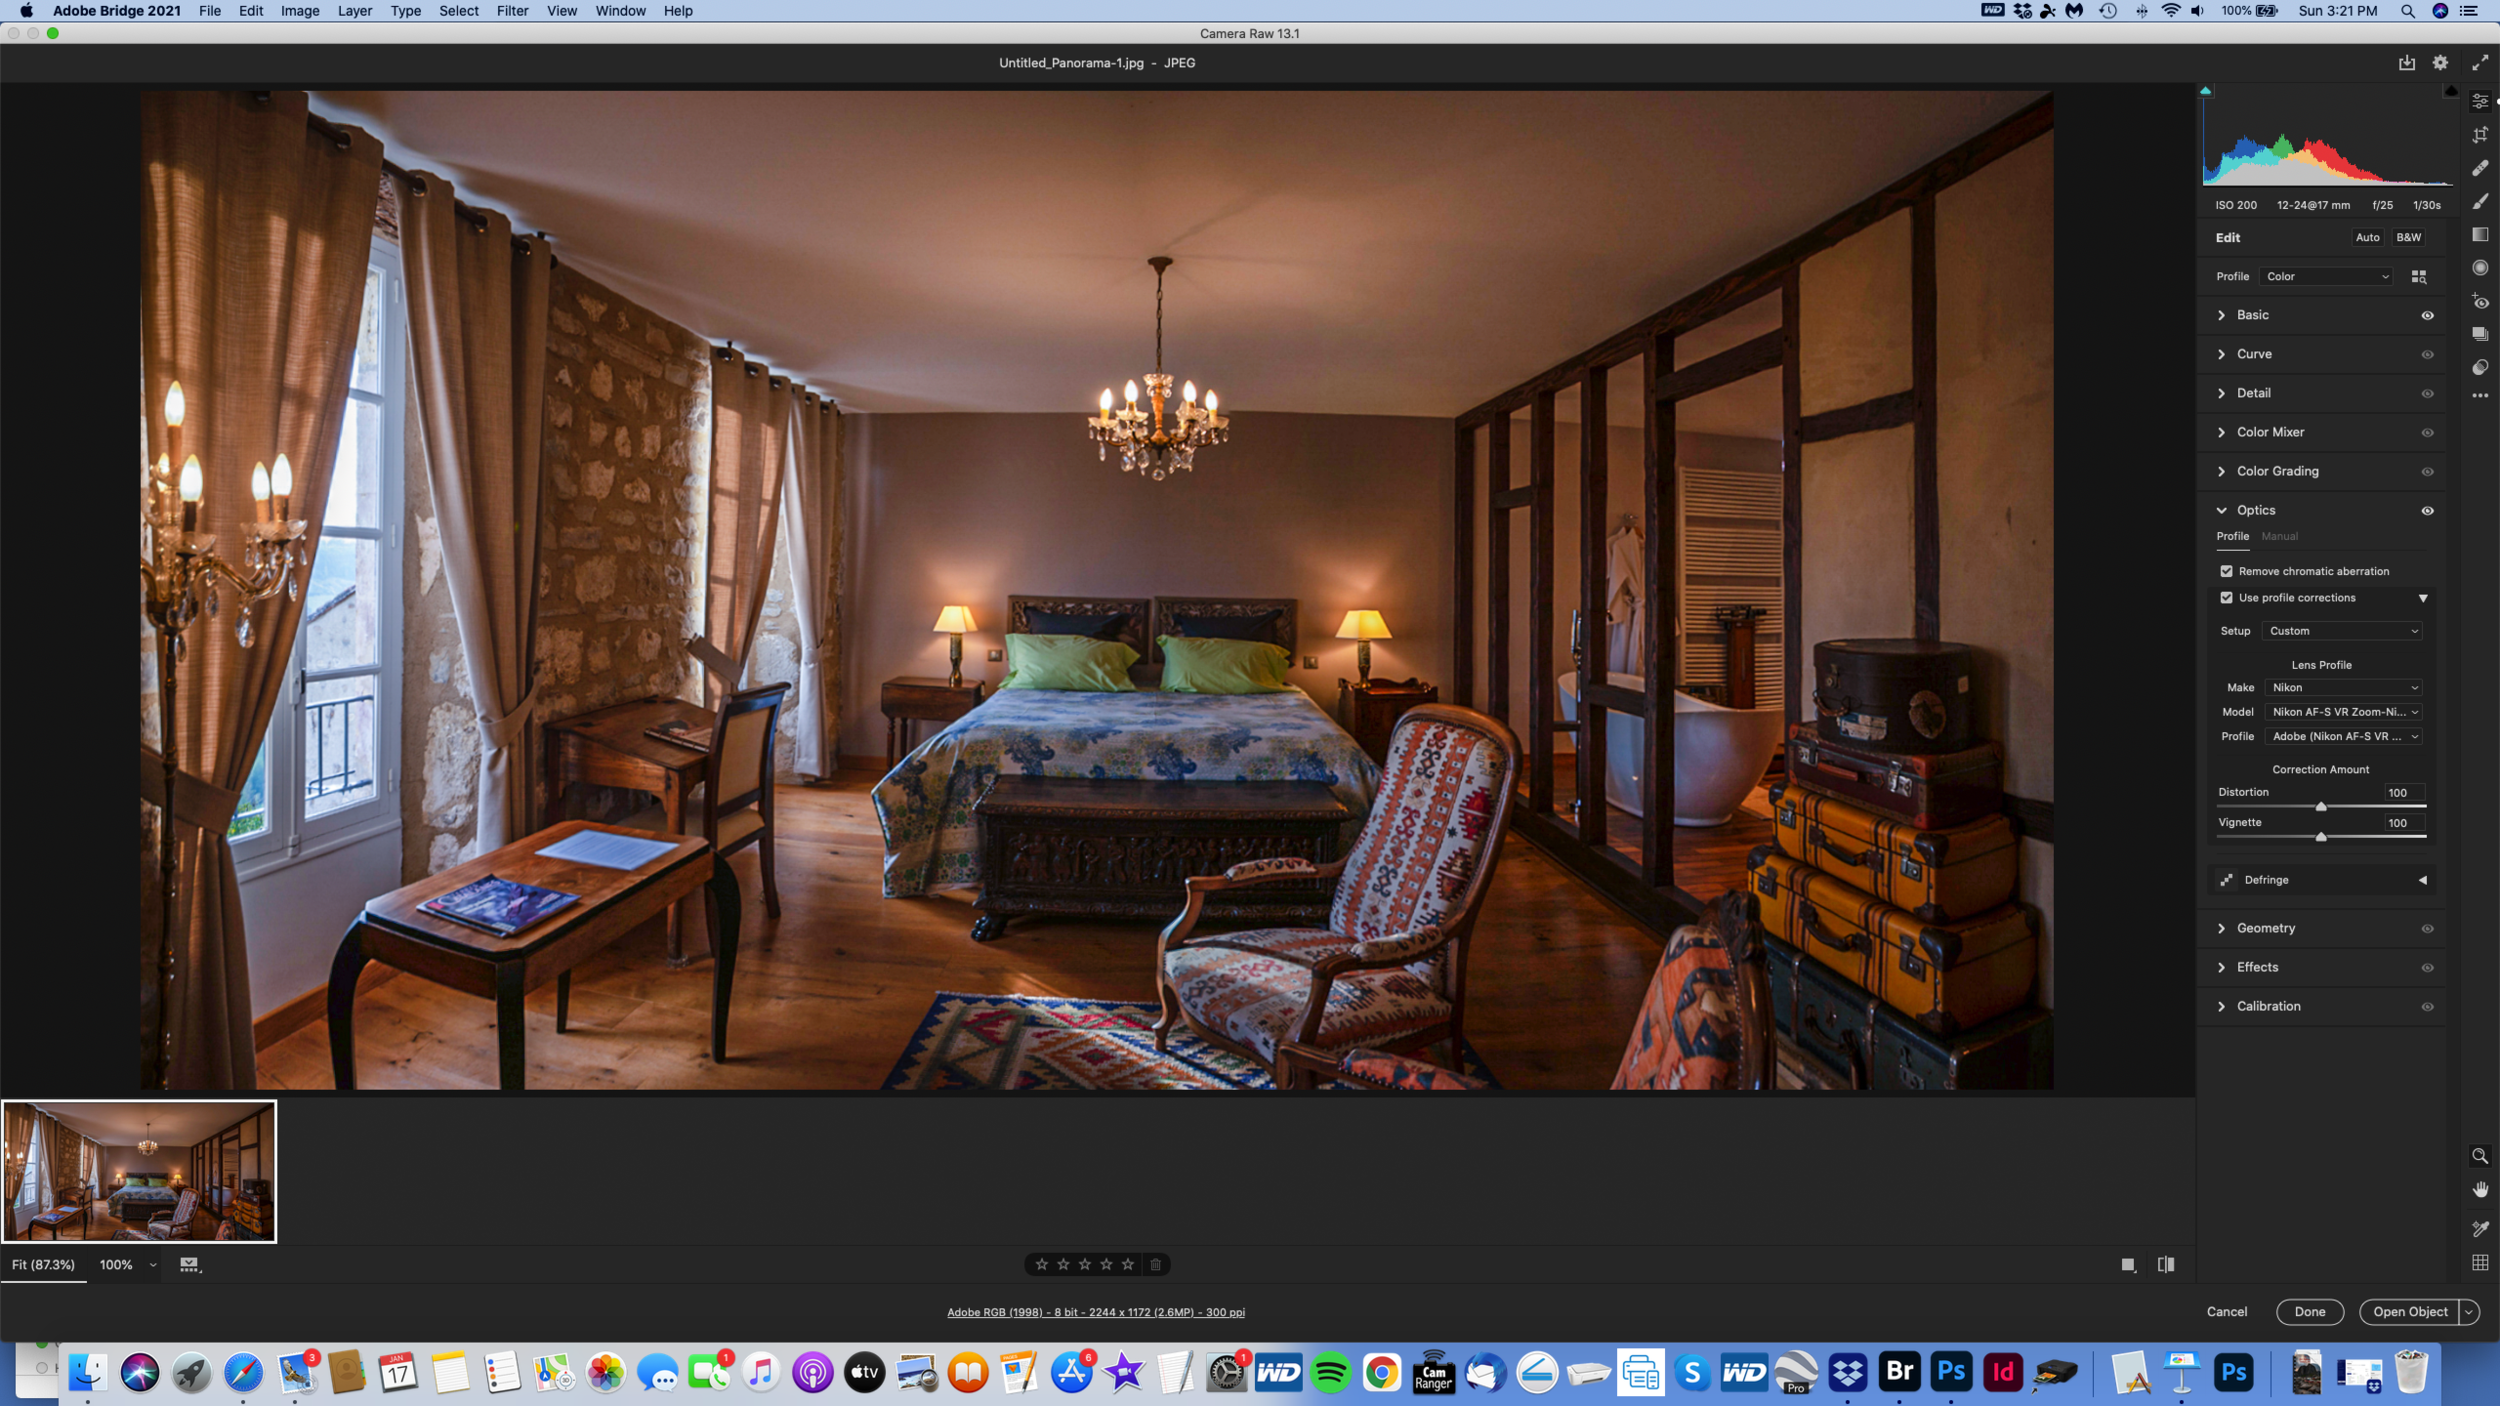
m - n. Now in Adobe Bridge (or your favourite app) look for the file you have just saved, and open it as a Camera Raw file.
o. The Bridge work space. So adjust the sliders to get these settings and the tonal range of your image will now open up.
p. The final panorama.


All photography and information © Jon Davison 2022.