
MASKS
PHOTOSHOP - Using Quick Mask Mode
Working in Photoshop offers you multiple ways to execute your work the way you prefer. Some people, like me, prefer to edit directly on the image working with pixels. Others prefer not to edit with pixels, finding it destructive, which it can be. So working in Quick Mask Mode offers a non-destructive option. This places a ‘Mask’ over your image and all your actions are applied to the mask, thereby not affecting the pixels in your image whatsoever. Many graphic designers opt for this method as it mimics the use of the red Rubylith film that the graphics industry used before digital methods replaced them.
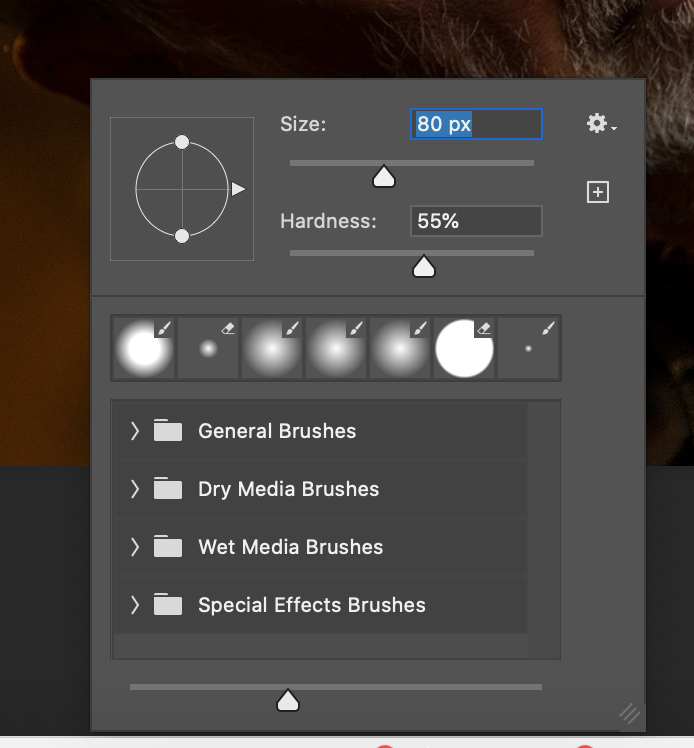
The beauty of this approach is that you ‘paint’ in your edits, with just two ‘colours’, black and white and that’s it. Black applies any edits as you paint as a bright red mask, while white undoes them. First off press the D key to default your colours to black and white. As soon as you click the Quick Mask icon at the bottom of the Tool Bar (Q) it applies the mask (1) then off you go. Paint to remove say a background or in fact any area you wish (3). If you make a mistake (5) just press the X key to change to White, then just paint over it and it is gone. Toggle between black and white with the X key.
Once you are happy with the edit, press the Quick Mask icon (Q) and it creates a selection of your work (7), ready be made into a separate layer (8). If you go Co-J, it will make a layer of this selection allowing you to make changes, like desaturate or any other effect.


All photography and information © Jon Davison 2022.