
HDR
HDR / Optimization - getting the best out of what you recorded
Your camera digital sensor records the amount of light emanating from a scene. If the foreground is not reflecting light, as in the graphic (a) below, it will be darker that the background. In an image the range from the highlights to the shadows is known as its Dynamic Range. The human eye has a very High Dynamic Range (HDR), and as such is able to detect a huge range of tones, from black to white and the huge range of greys in between, all at the same time, as in graphic (b). Our eyes are always shifting across our viewing field allowing our brains to build a complete picture of any scene. But the camera giving a static image, on the other hand can not record the same range that our eyes can. It is part of the reason why your images often appear flat, dull, or not quite what you remembered. So the photographic image has a very limited or low dynamic range (LDR).

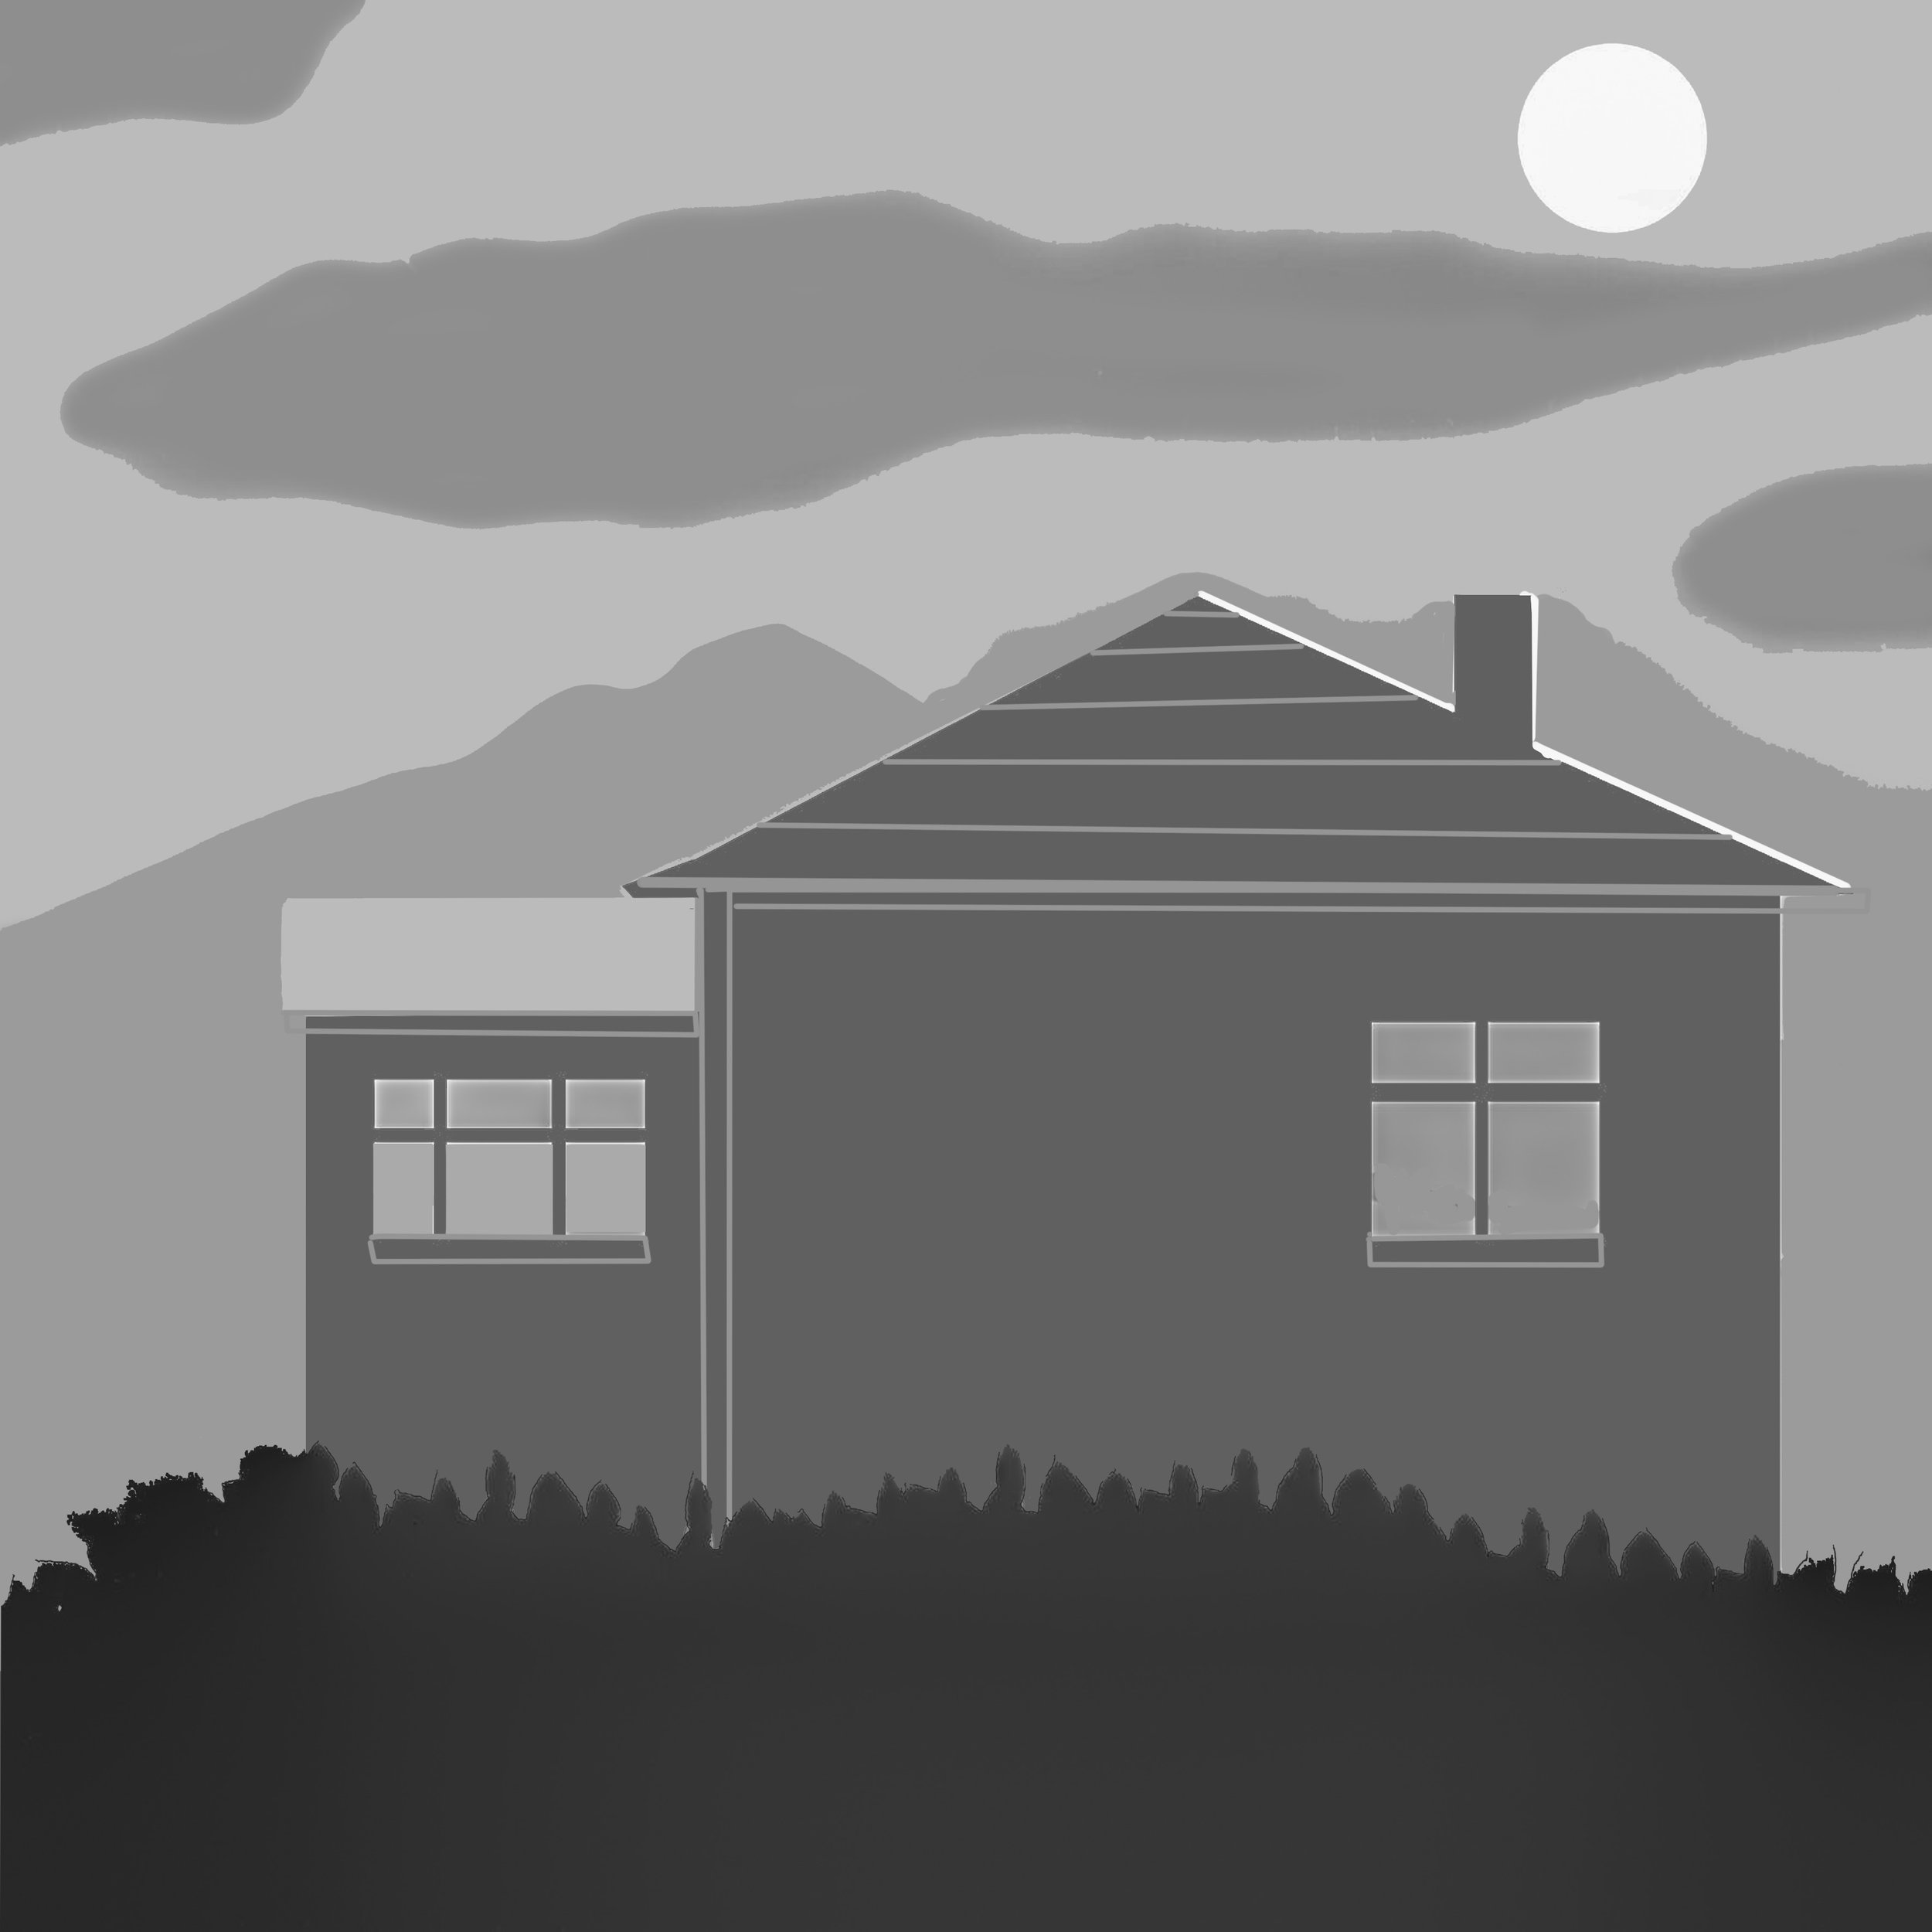
For example, in the house above, your eyes would be able to discern details on the building even though it is in shadow (b), as well as details in the clouds. This is a massive tonal range, something like 24 aperture stops or more. A good camera with raw image processing may be able to get 9. But your camera can not record it in the same way (a). The end result is that the captured image is not quite what you were seeing, as your camera may well record the building in silhouette if you don’t control it. But with HDR all the tones that are in the scene are bought out by editing it in Photoshop, or other programs. This is known as ‘optimizing’.
The following examples have all been edited in Photoshop to ‘optimise’ them, plus all the vertical lines have been corrected.
Of course you have the choice of recording it as is, in near silhouette, or ‘opening’ it up. It all depends on why you are shooting it.

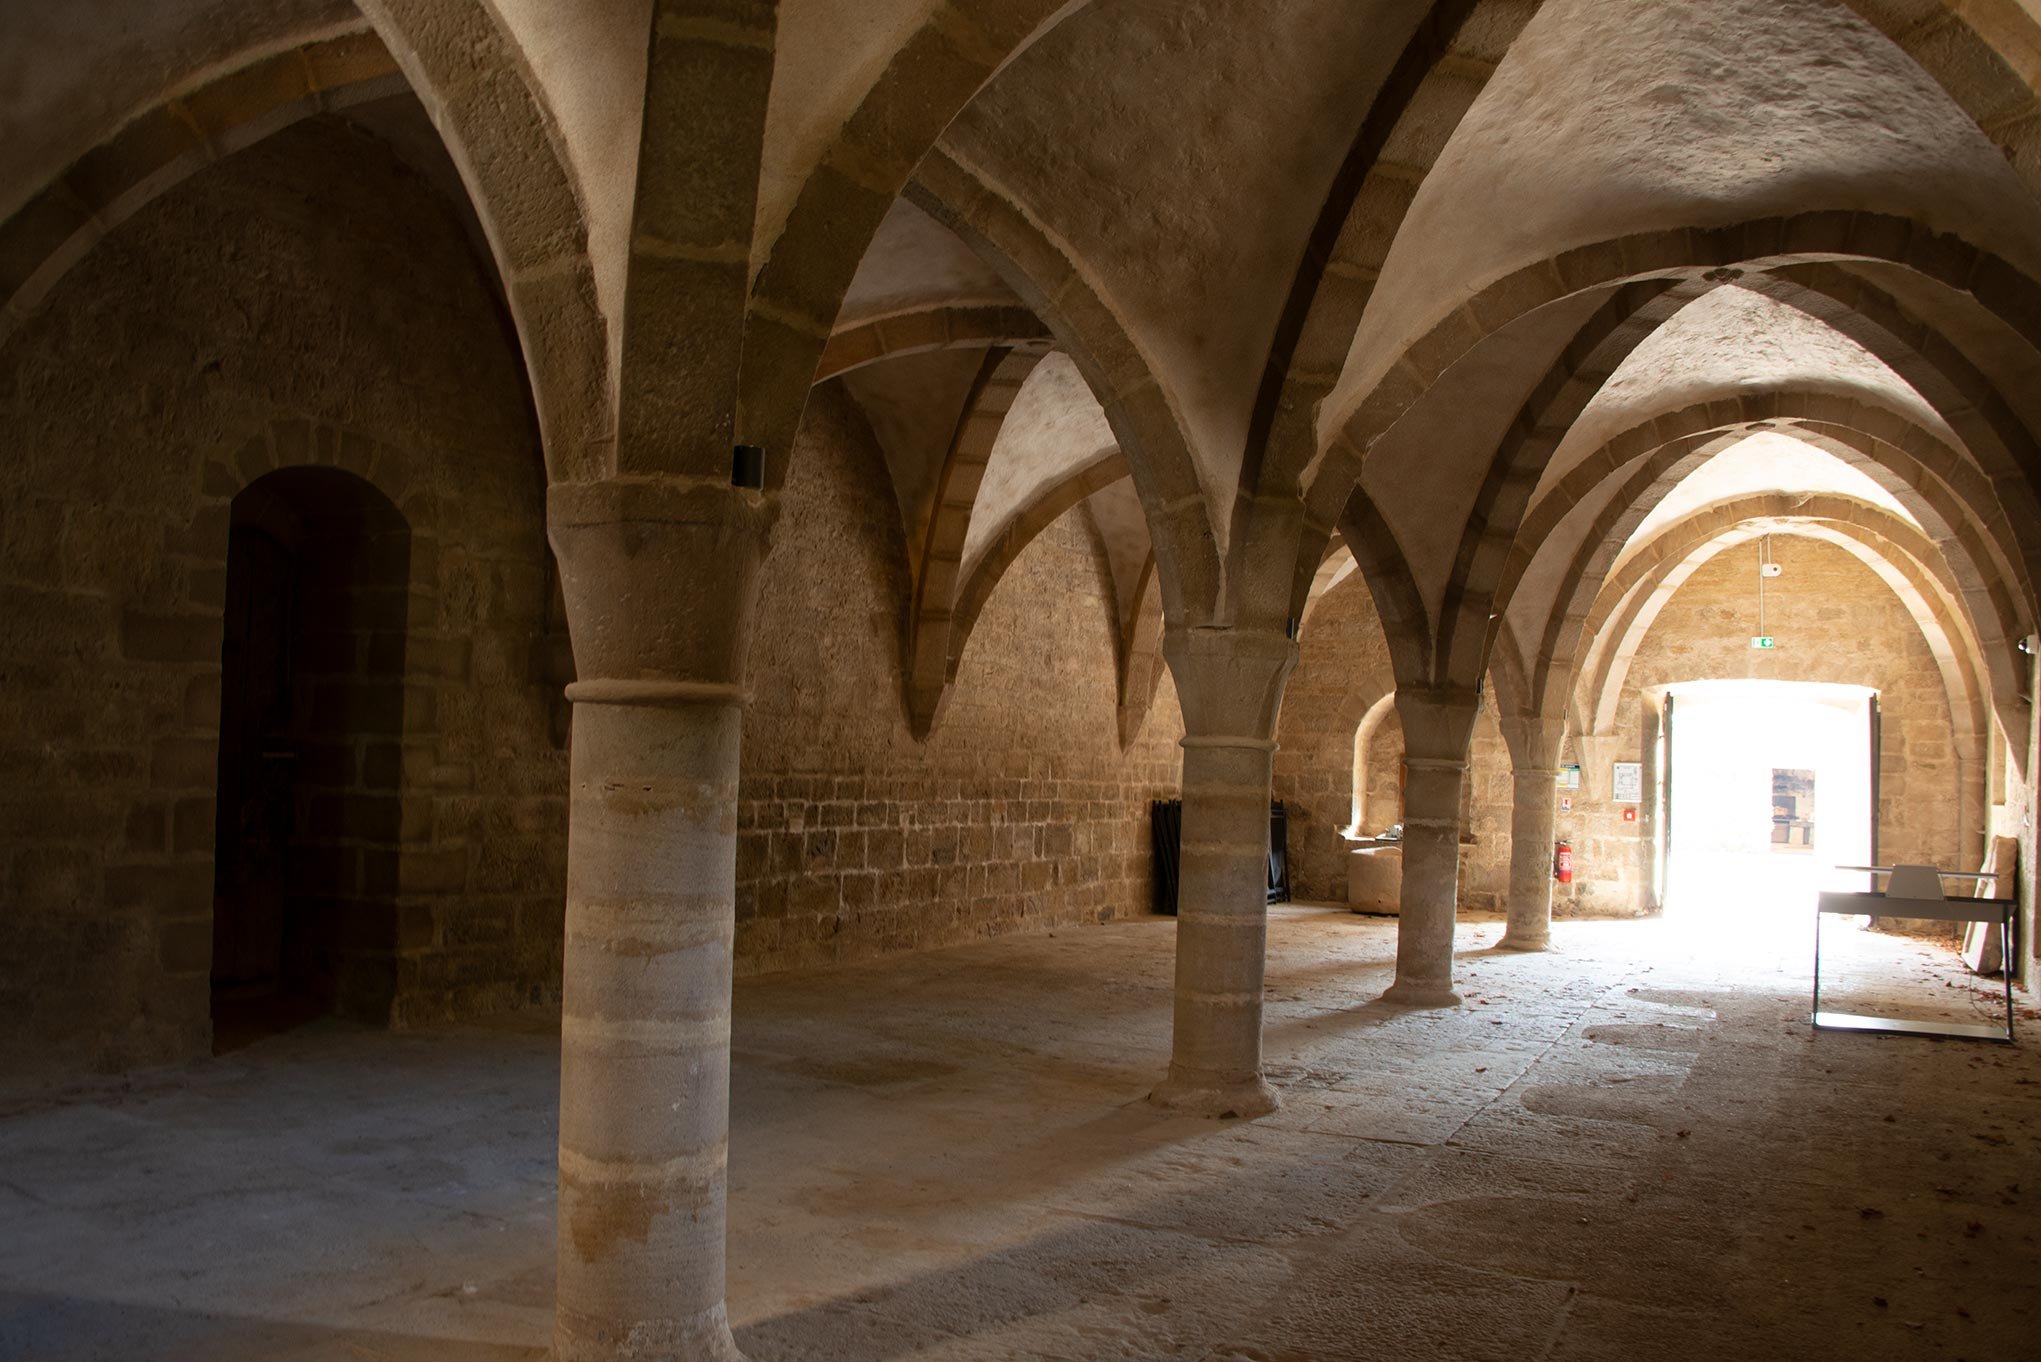

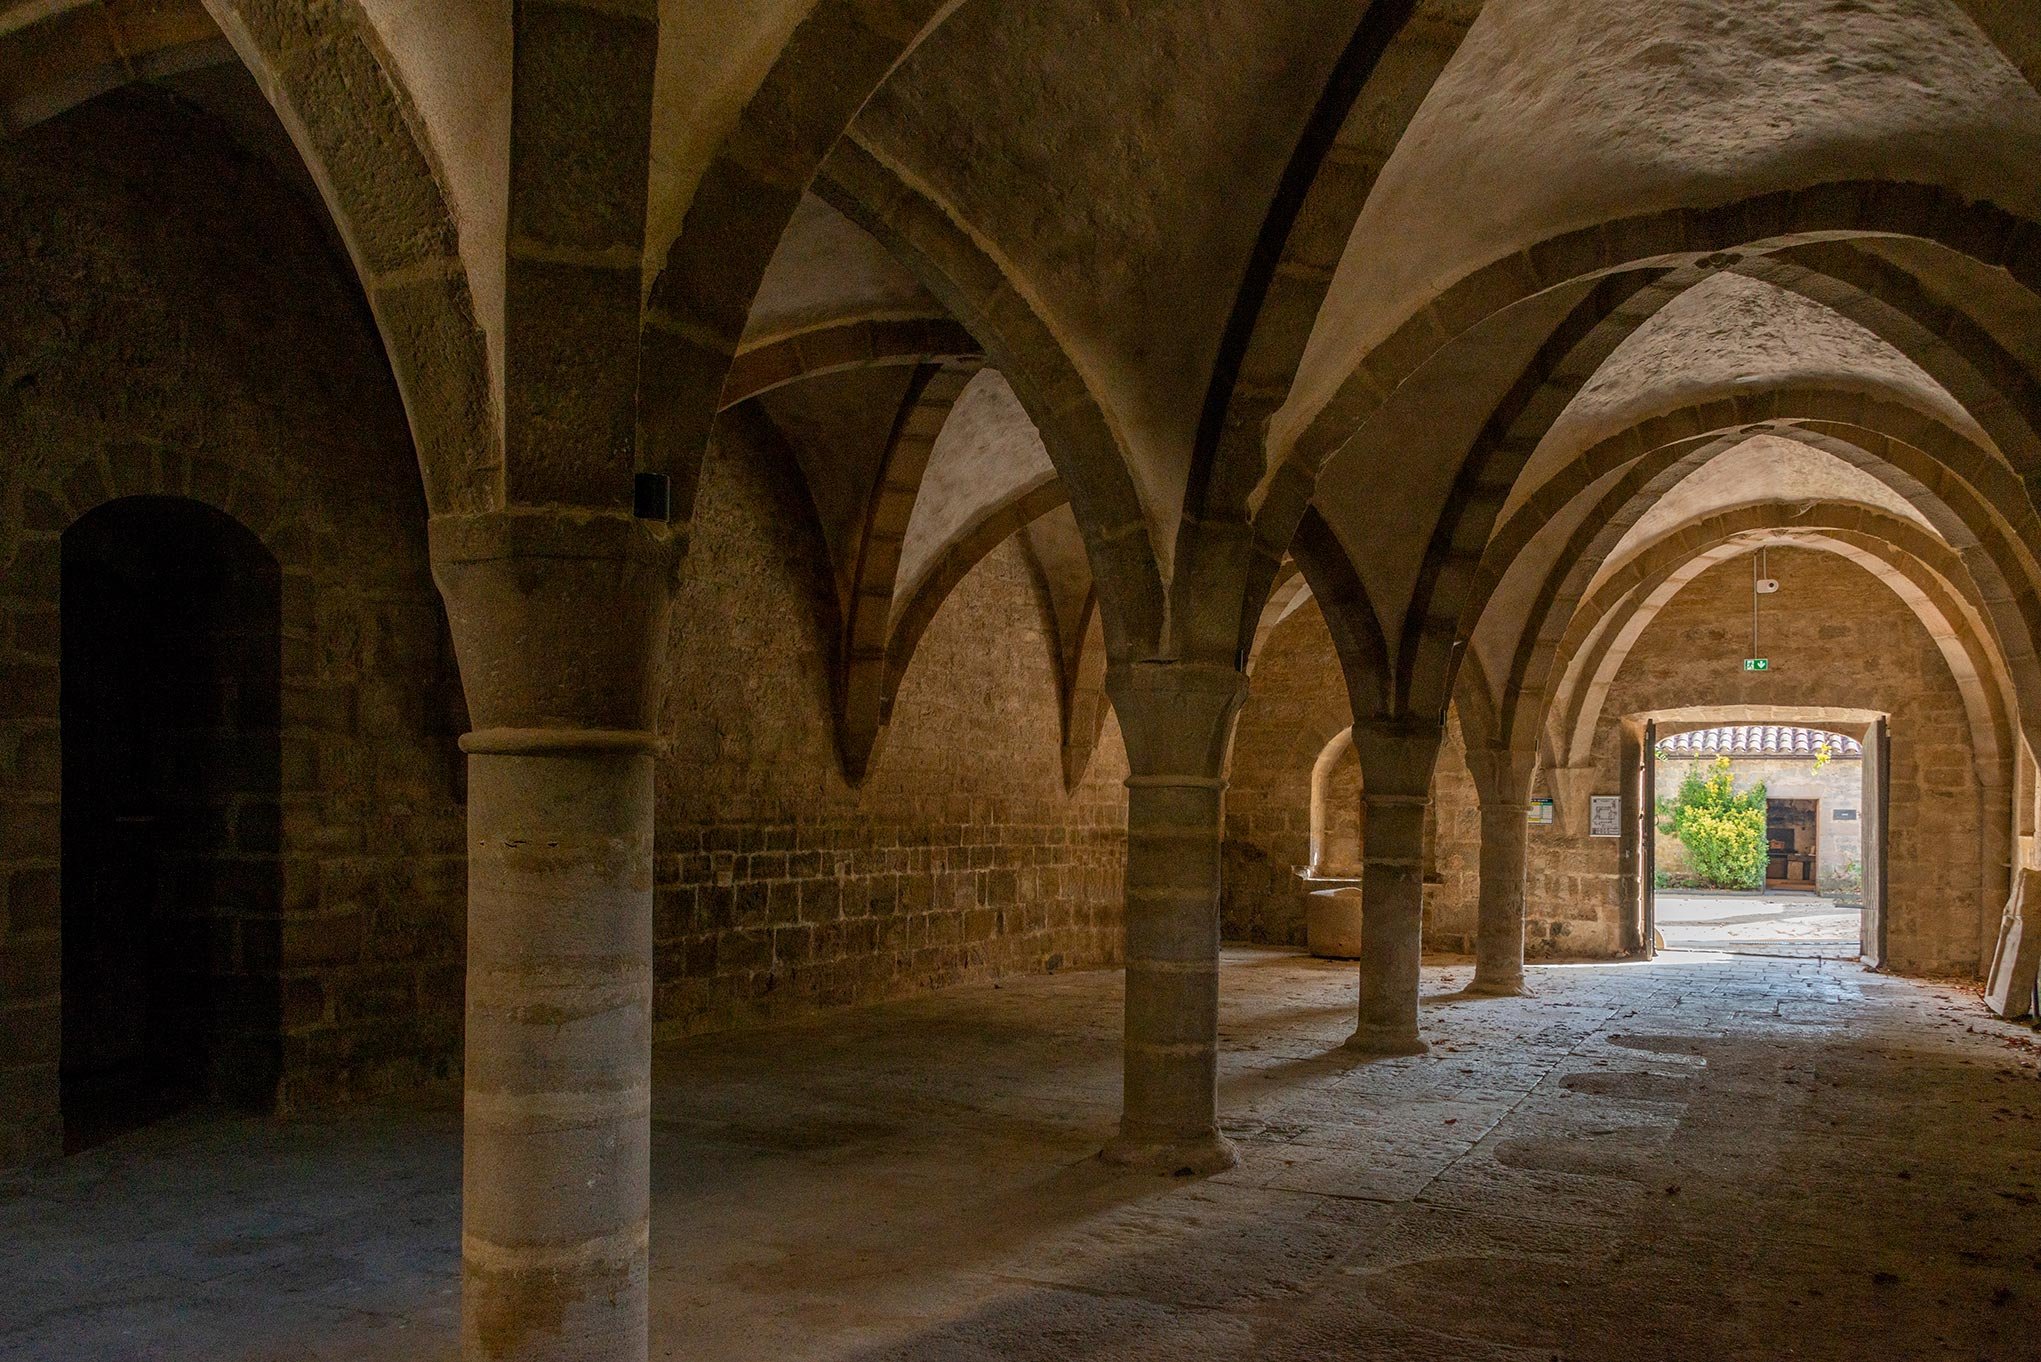


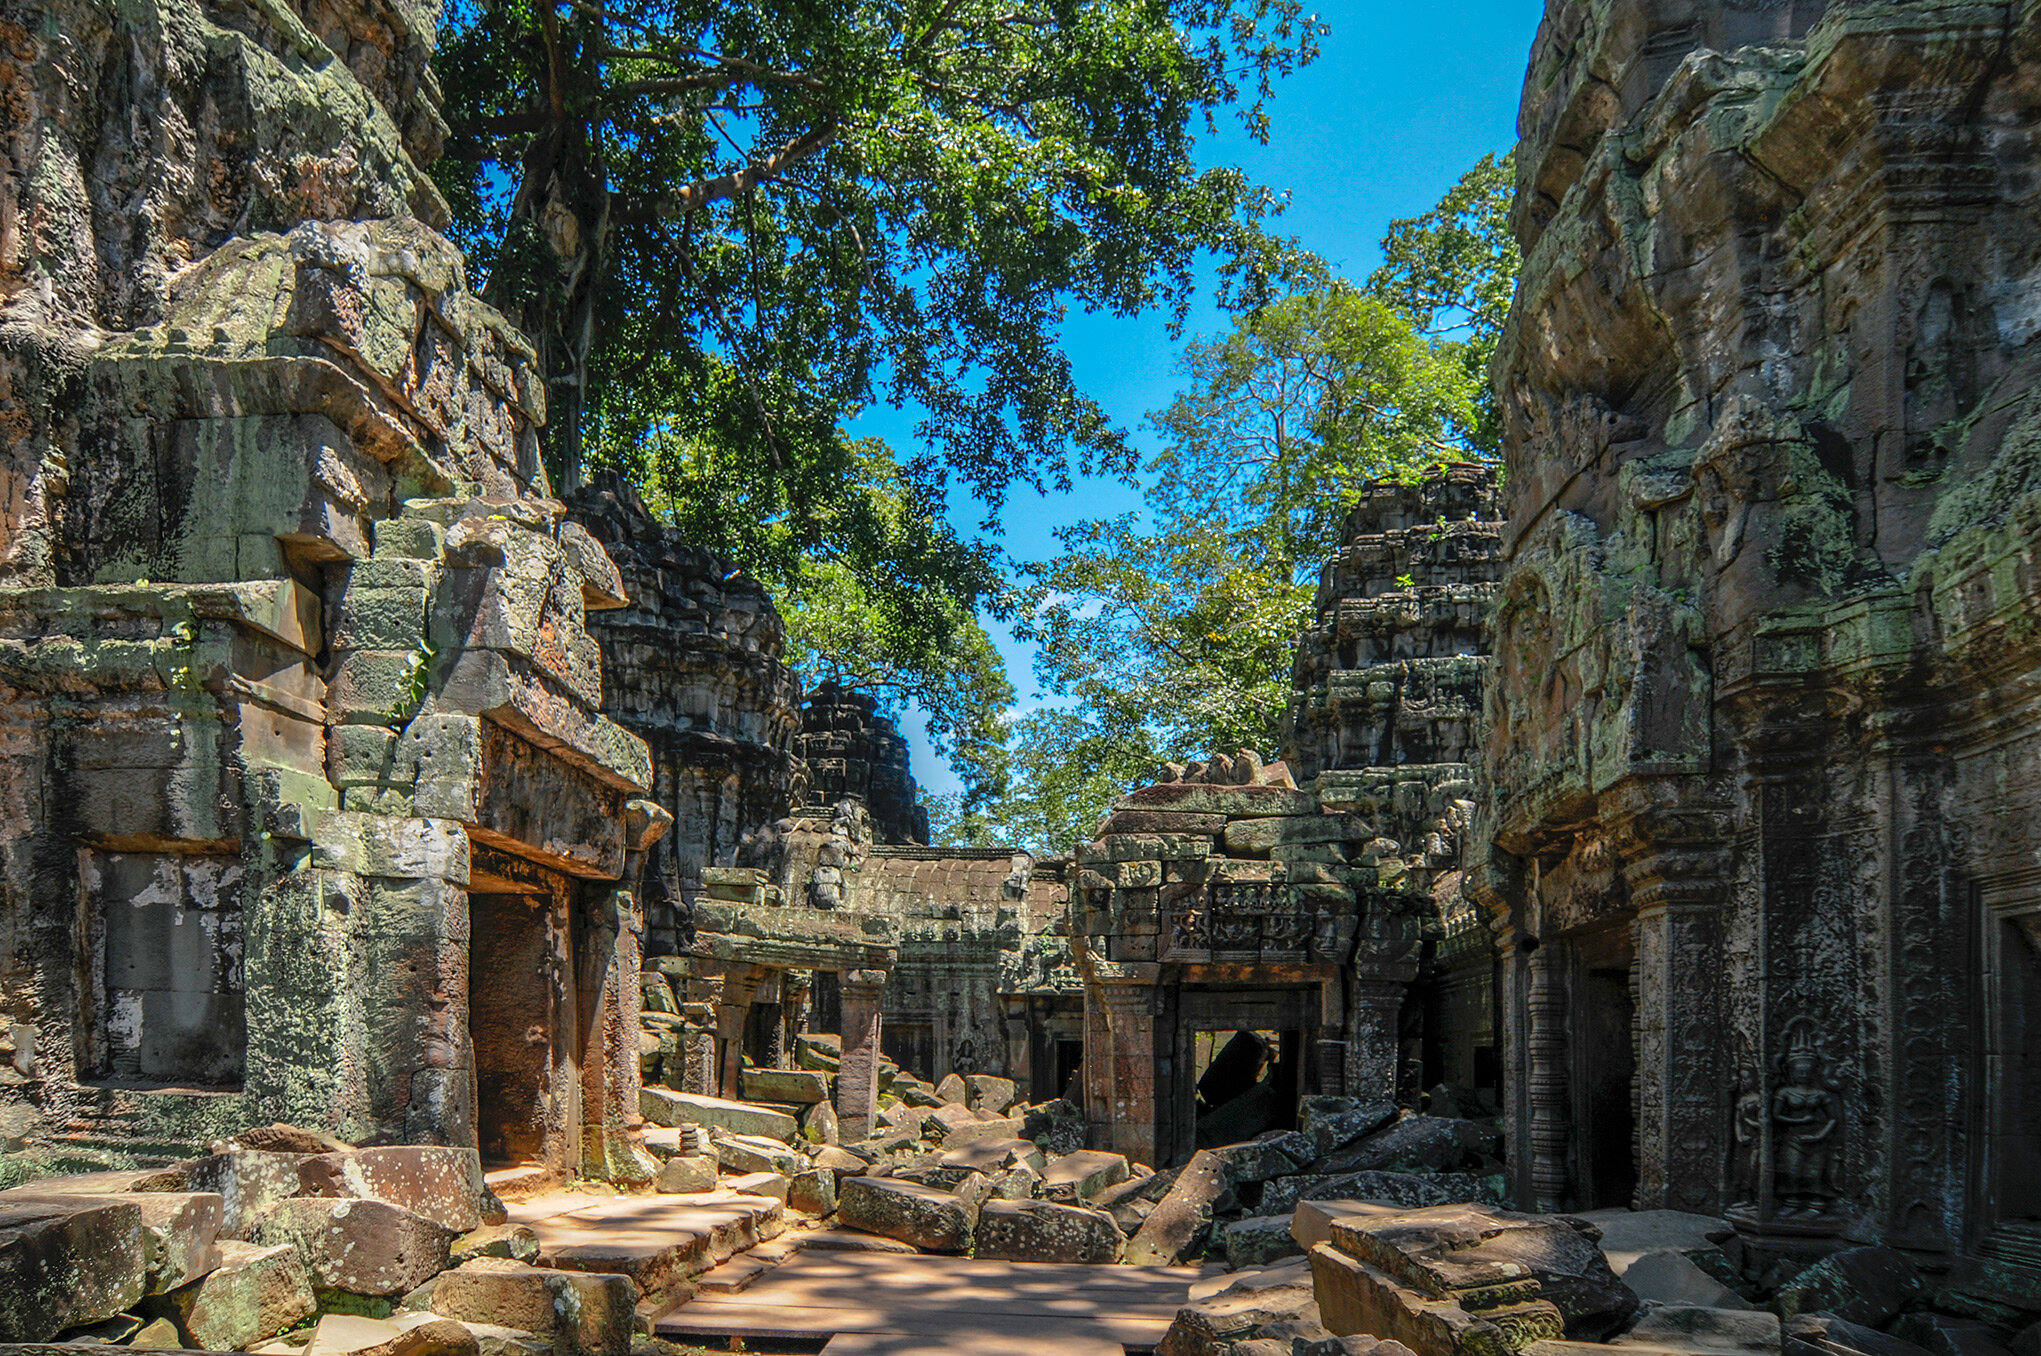


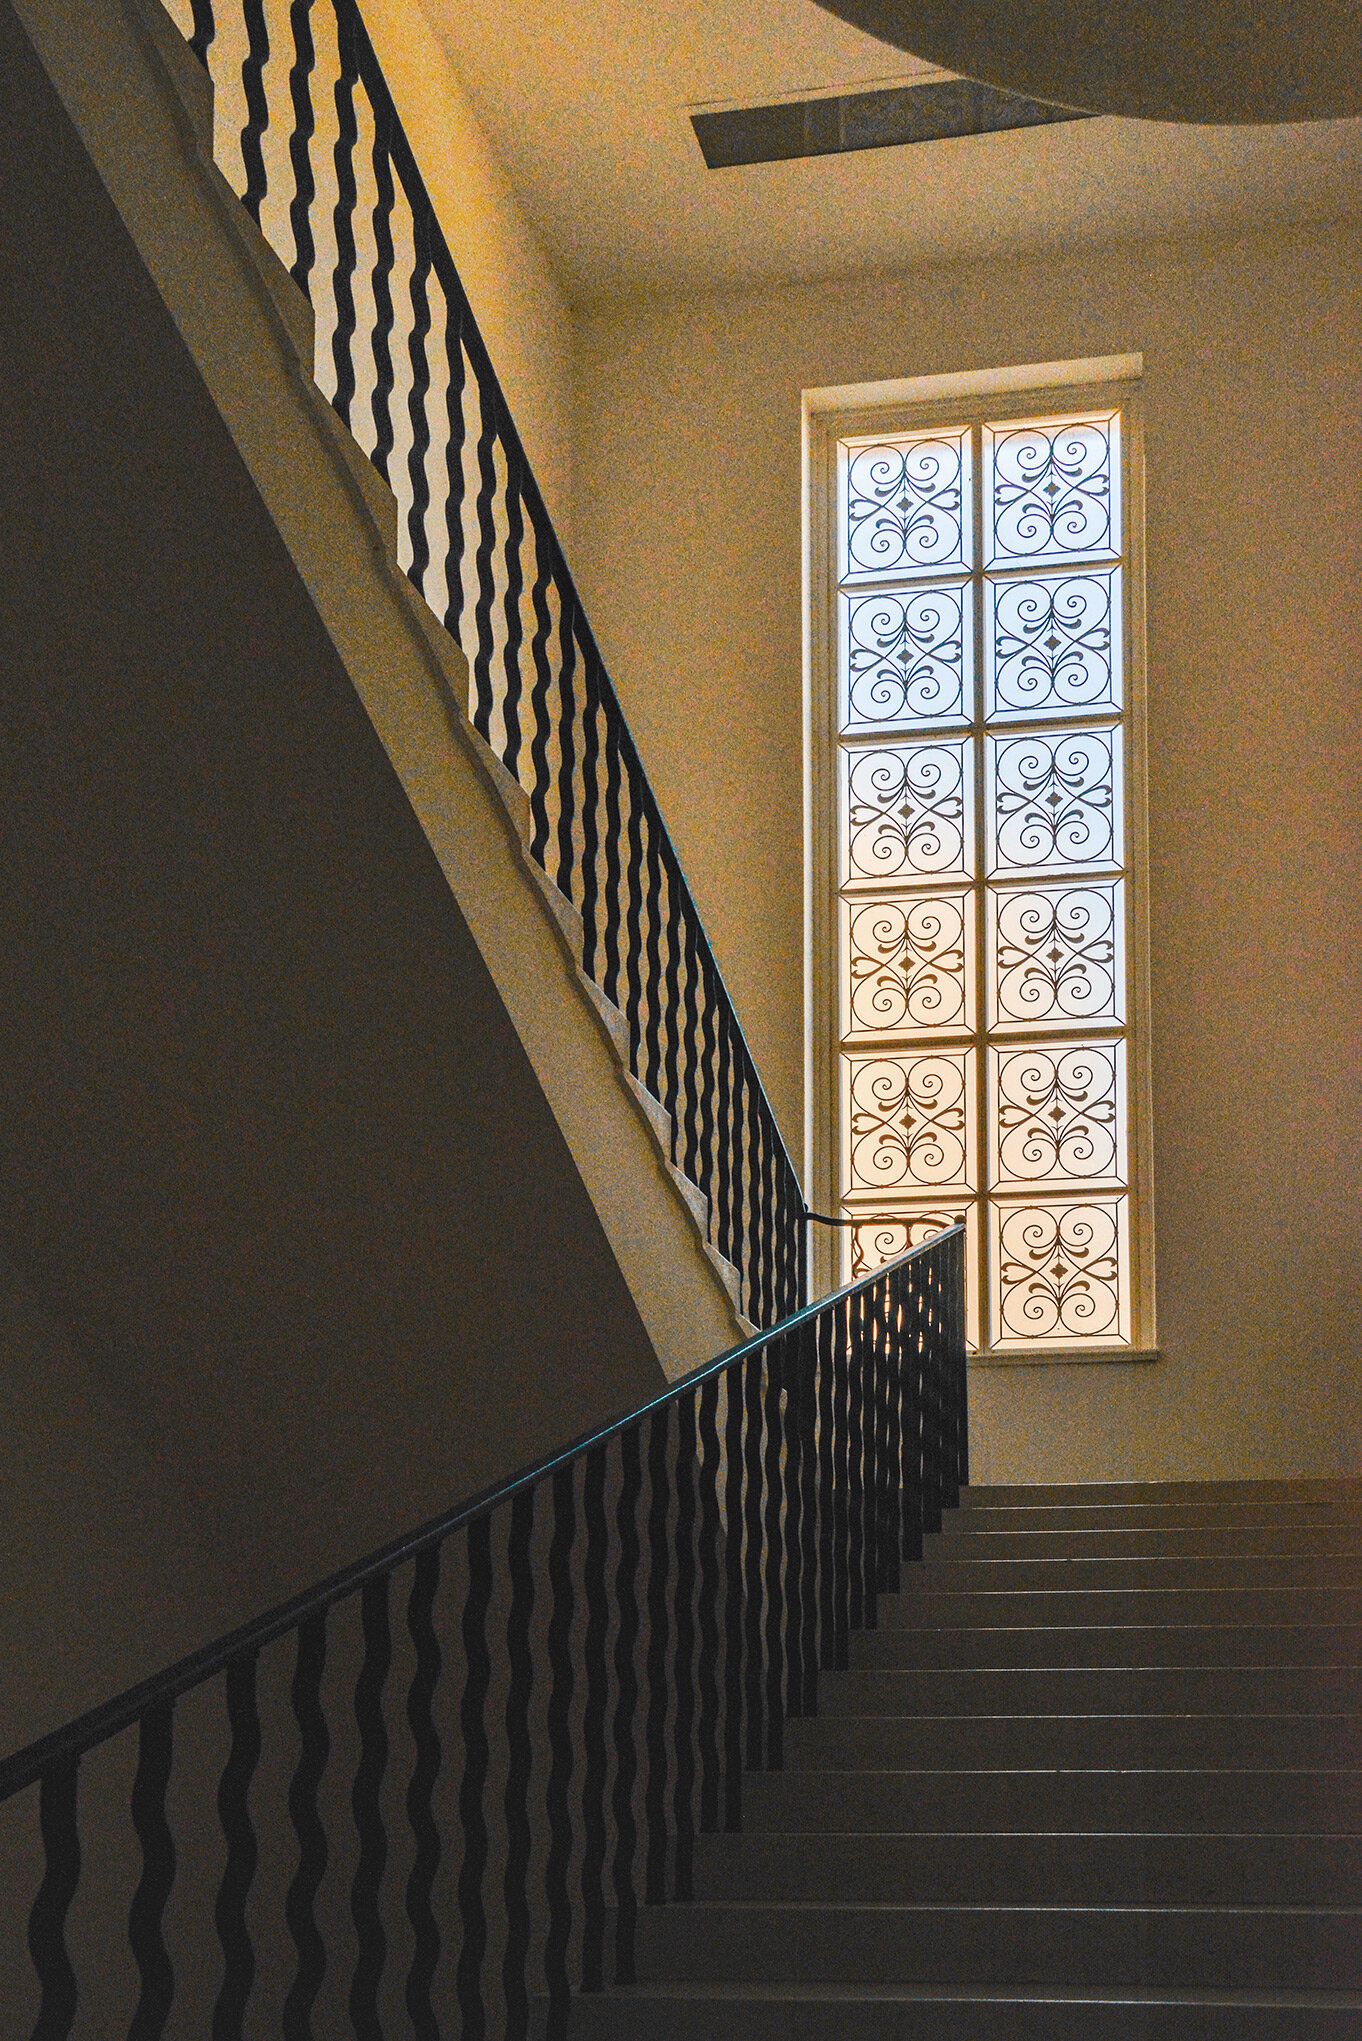
Frame (1) is as captured when exposed for the shadows, which opens them up. Frame 2 has been exposed for the highlights, which means the interior - which is not as bright - will be in shadow. 3 has been optimized plus unwanted interior details have been edited out. Frame 4, the building was not designed like this, nor did the tones look like this to my eye. Frame (5) has been ‘optimized’ with corrected vertical distortions and tonal rebalancing. The same applies to examples 6 - 7. Number (12) has been exposed for the window detail, while (13) looks at the shadows. (14) is a balanced treatment, but you may prefer (12). There is no hard and fast rules about which is right, it depends on the requirement as always.
Soon all cameras will no doubt have HDR built in. Smart phones can do this a little. So until all DSLR’s have this capability, we have to edit in Photoshop, Lightroom or other apps to bring the image back to how we perceived it at the time of capture.
This is an important aspect of image making, there is an awful amount of detail in the shadows. As technology improves, more and more clients, art directors or stock picture libraries will expect optimized images from you. So handing in a job that looks lIke 2, 4, 6 or 8), will not do you any favours.