
SHOOTING GLASS
SHOOTING GLASS - studio flash lighting
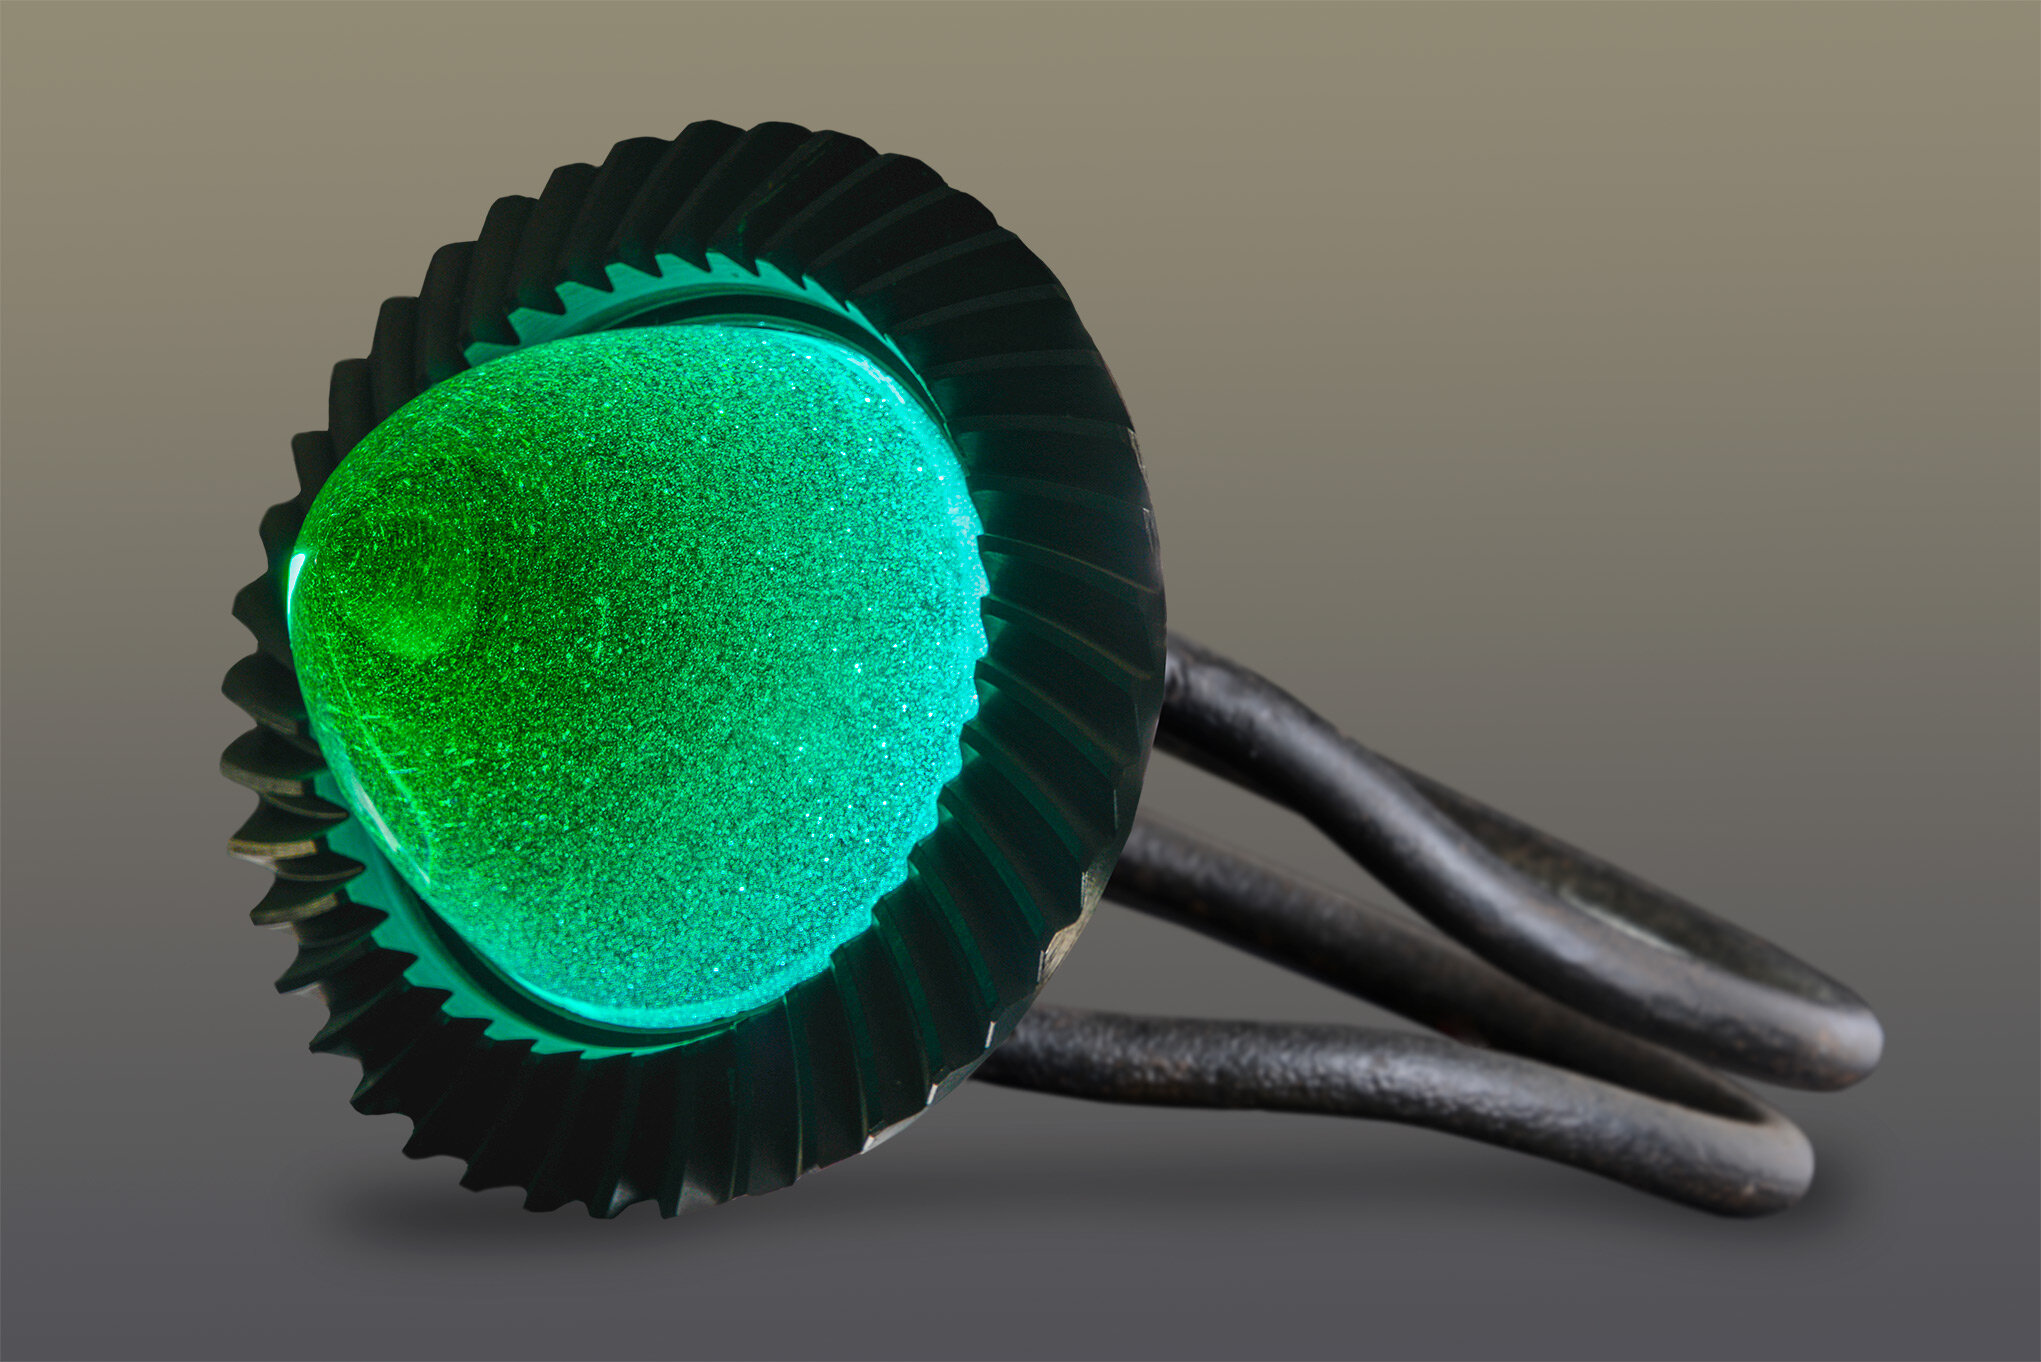
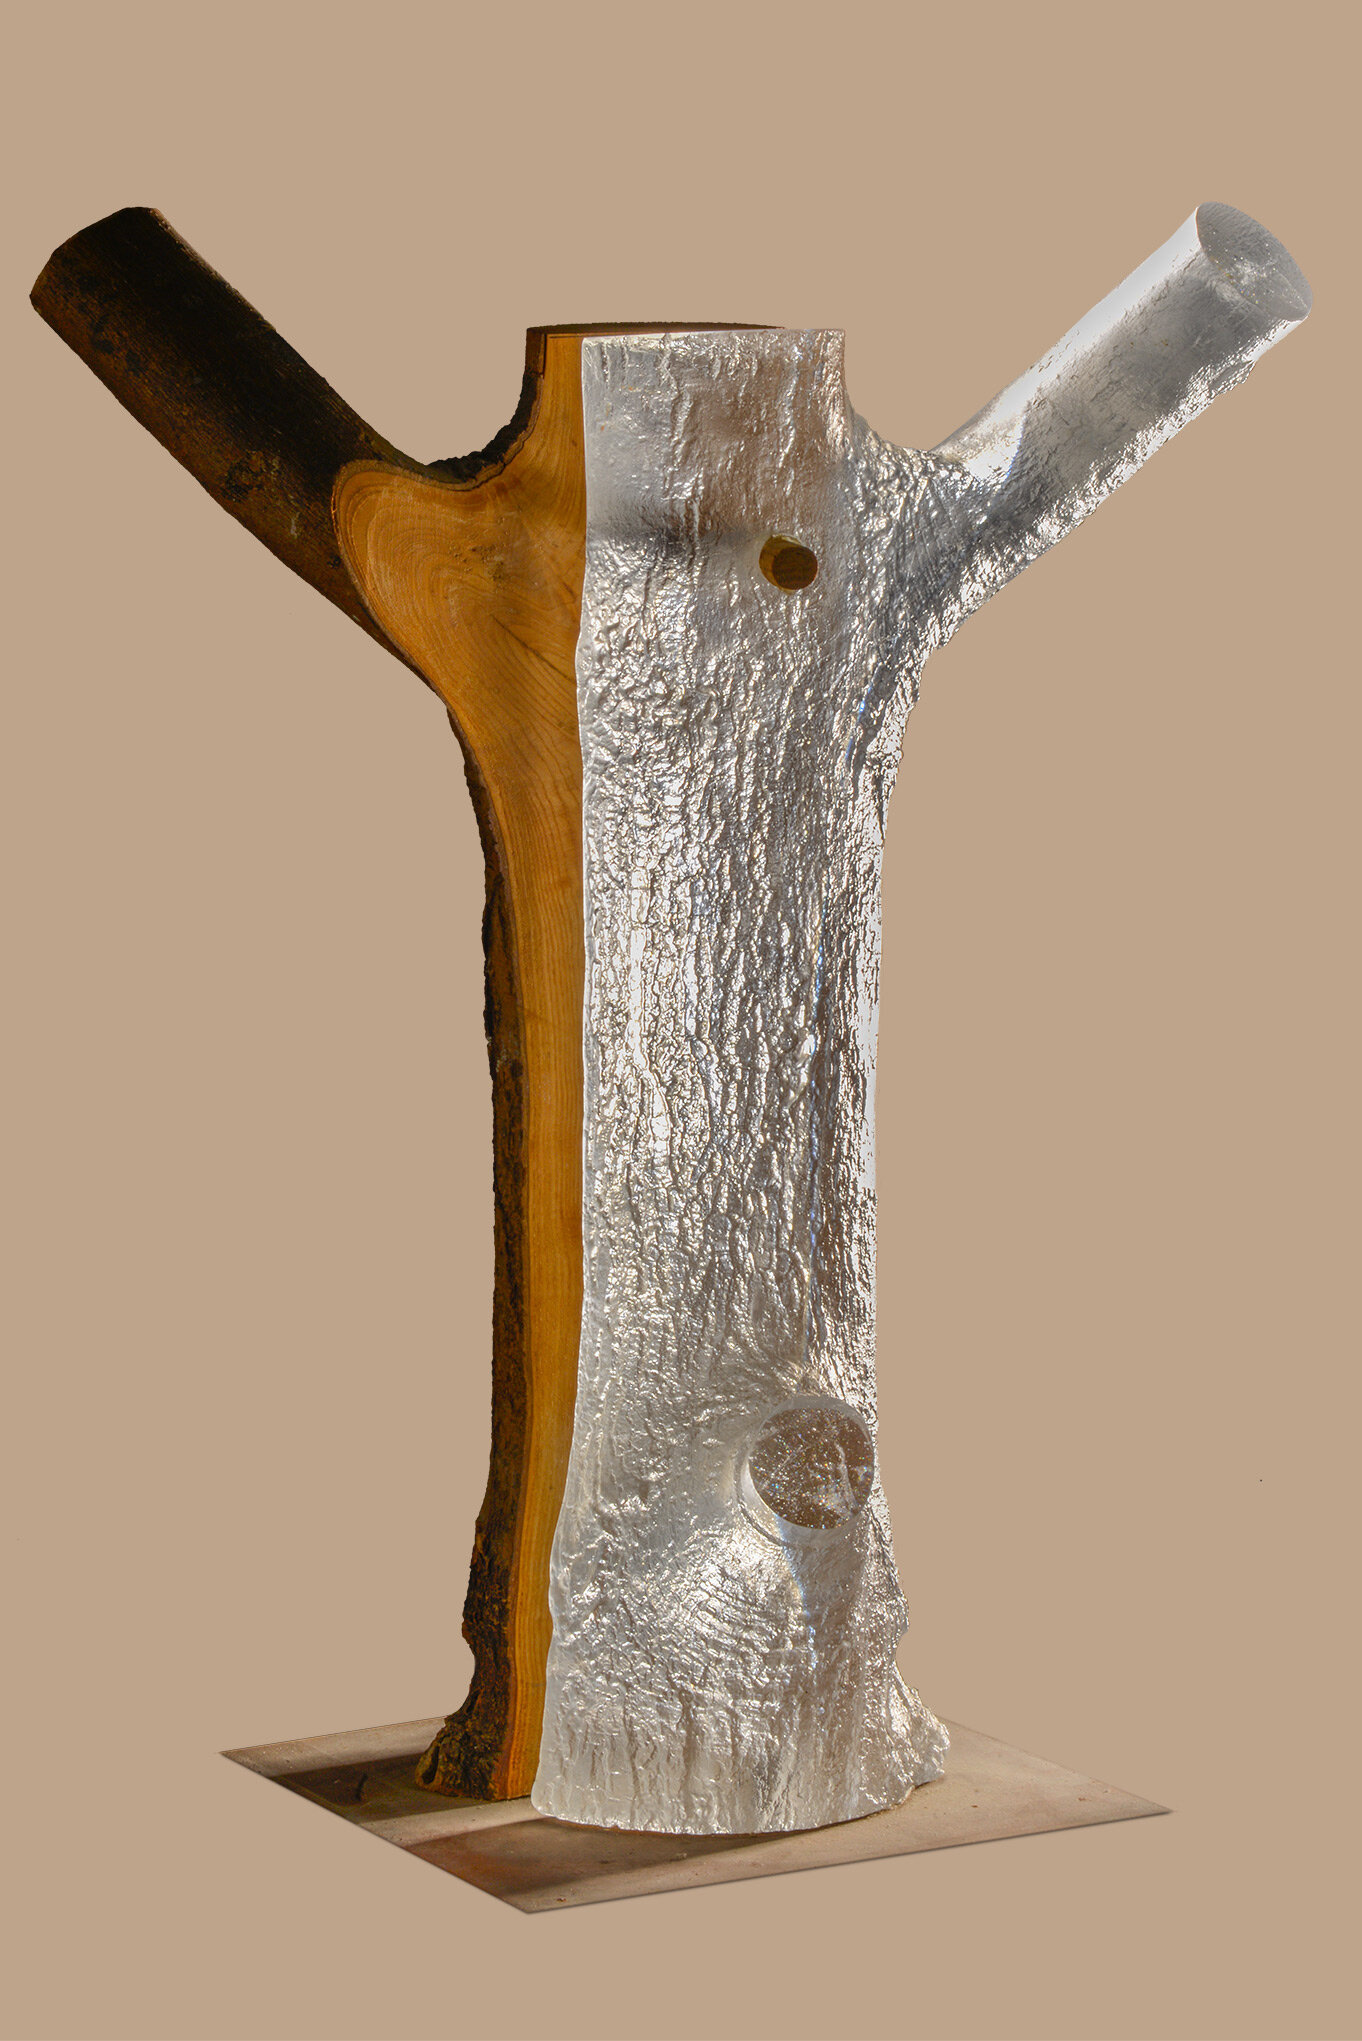
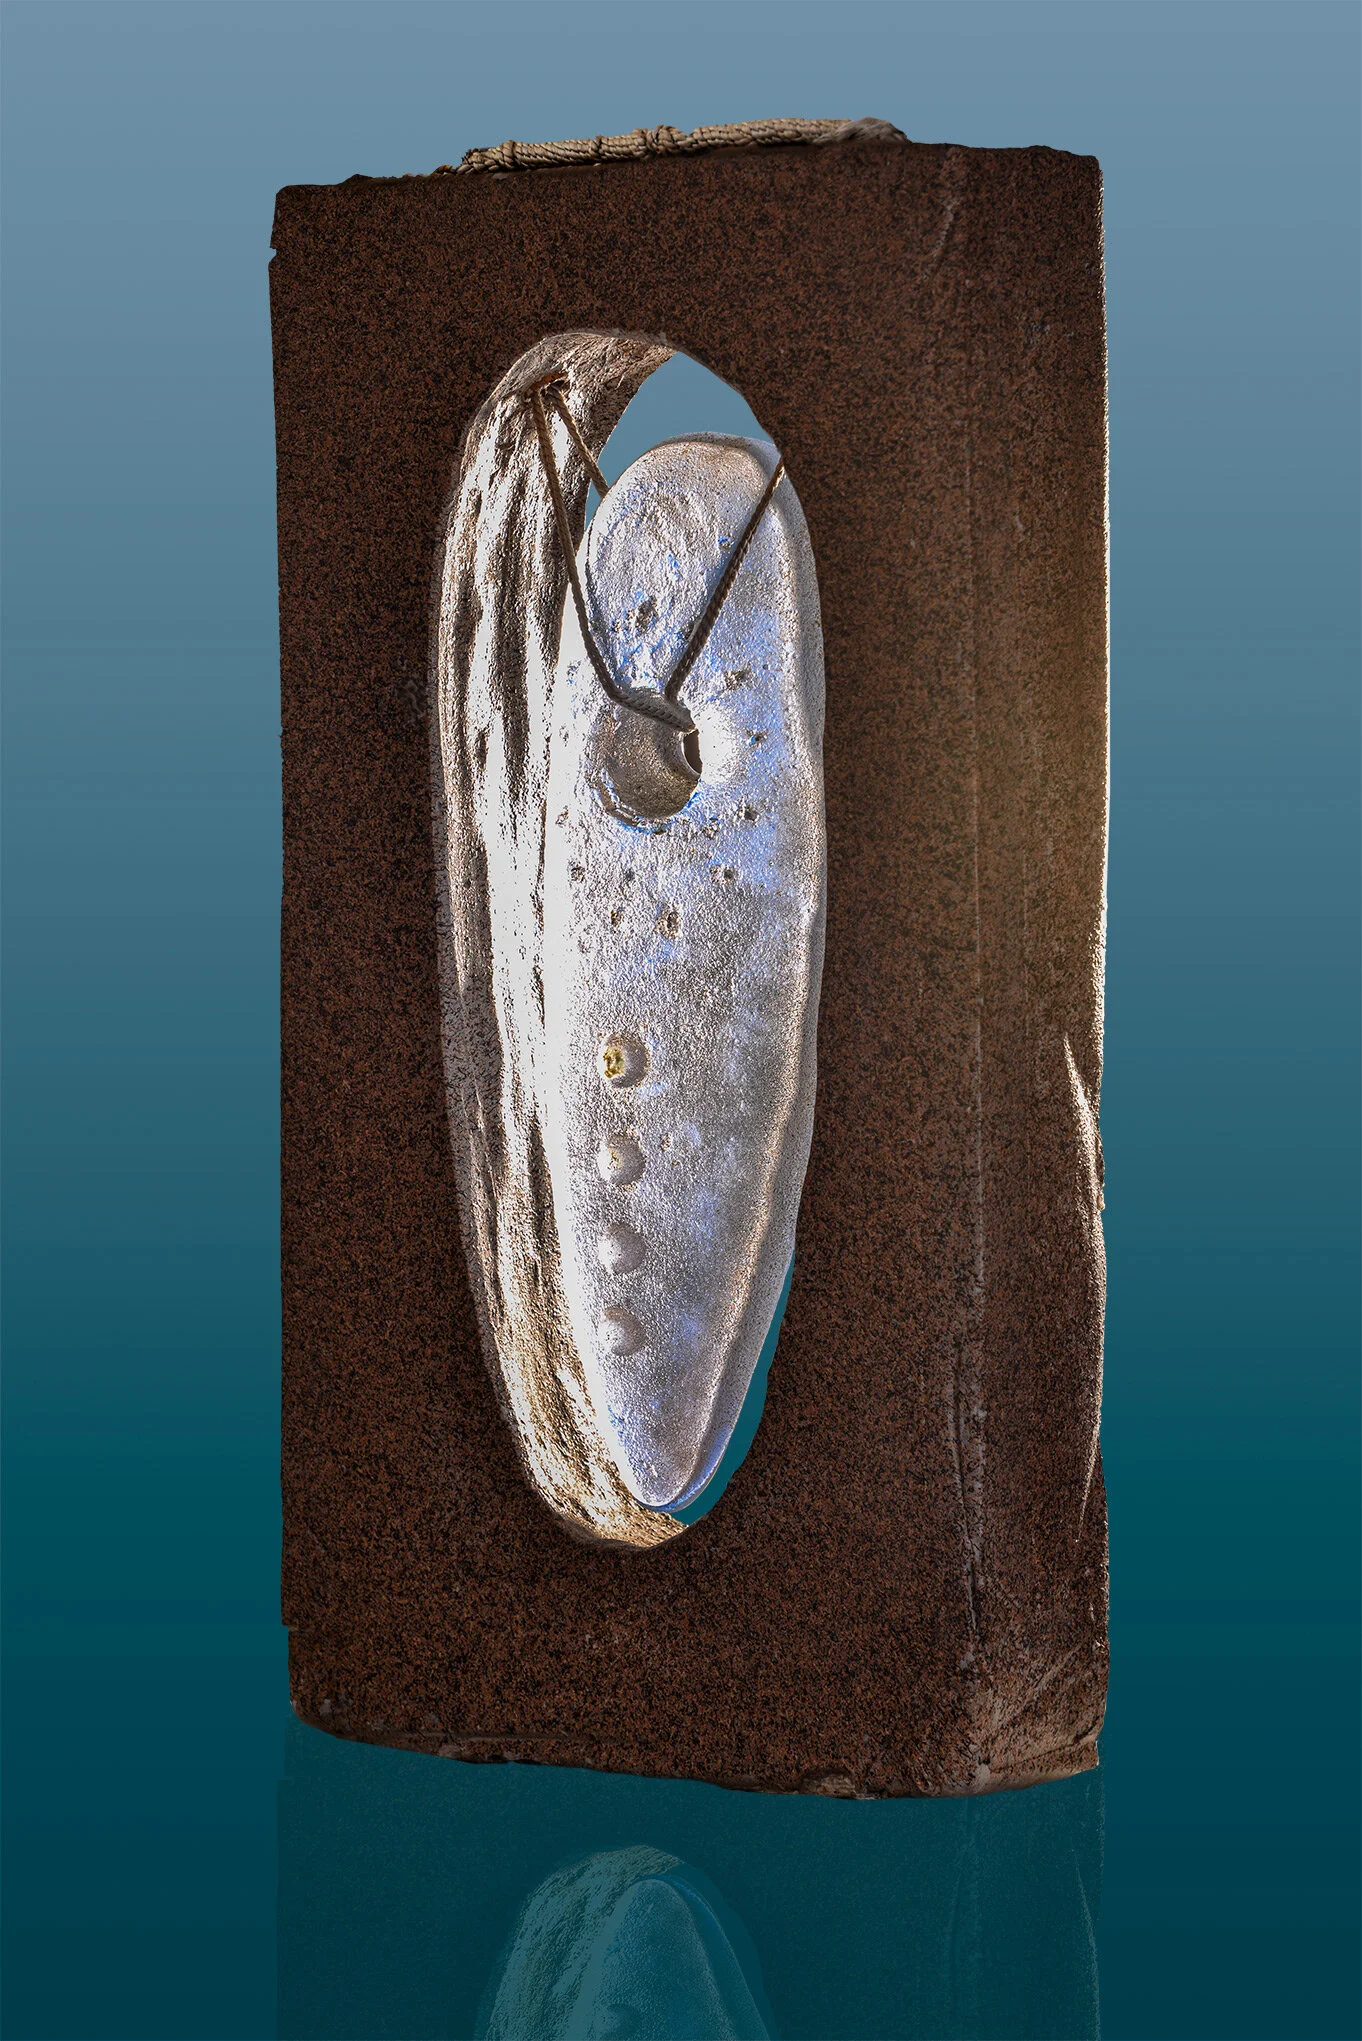
Glass is a tricky subject to shoot and do justice to. It depends a lot on what the client requires, so don’t go off on elaborate lighting setups before finding out what the client imagines the outcome to be and its purpose. Shooting against green screen or post production with Photoshop gives you an amazing amount of flexibility now. You don’t need half the lighting systems or backgrounds, it can all be assembled in ‘post’. So the idea is to plan how you are going to shoot it, then shoot to your plan. The client wanted the glass to glow, in particular (1), so that meant a flash head behind the sculpture. I took two shots, one of the glowing head, the other of the metal behind it and composited them together in post. All these frames were taken with just two or three flash heads with soft boxes. Numbers (3 and 6) were just lit from beneath with one head without a soft box.
It’s helpful to be able to edit the shots in Photoshop and remove the background, saving it as a .psd file. This gives the client flexibility to use their work against whatever background suits the image best, either in a catalogue, web, or press pr. They call you up, and you simply add a new background and send them the revised file for their specific requirement. Note the different background tints below.
For the late Marianne Spottswood, Luniverre Galley, Cordes-sur-Ciel, France, who sadly passed away in 2020.


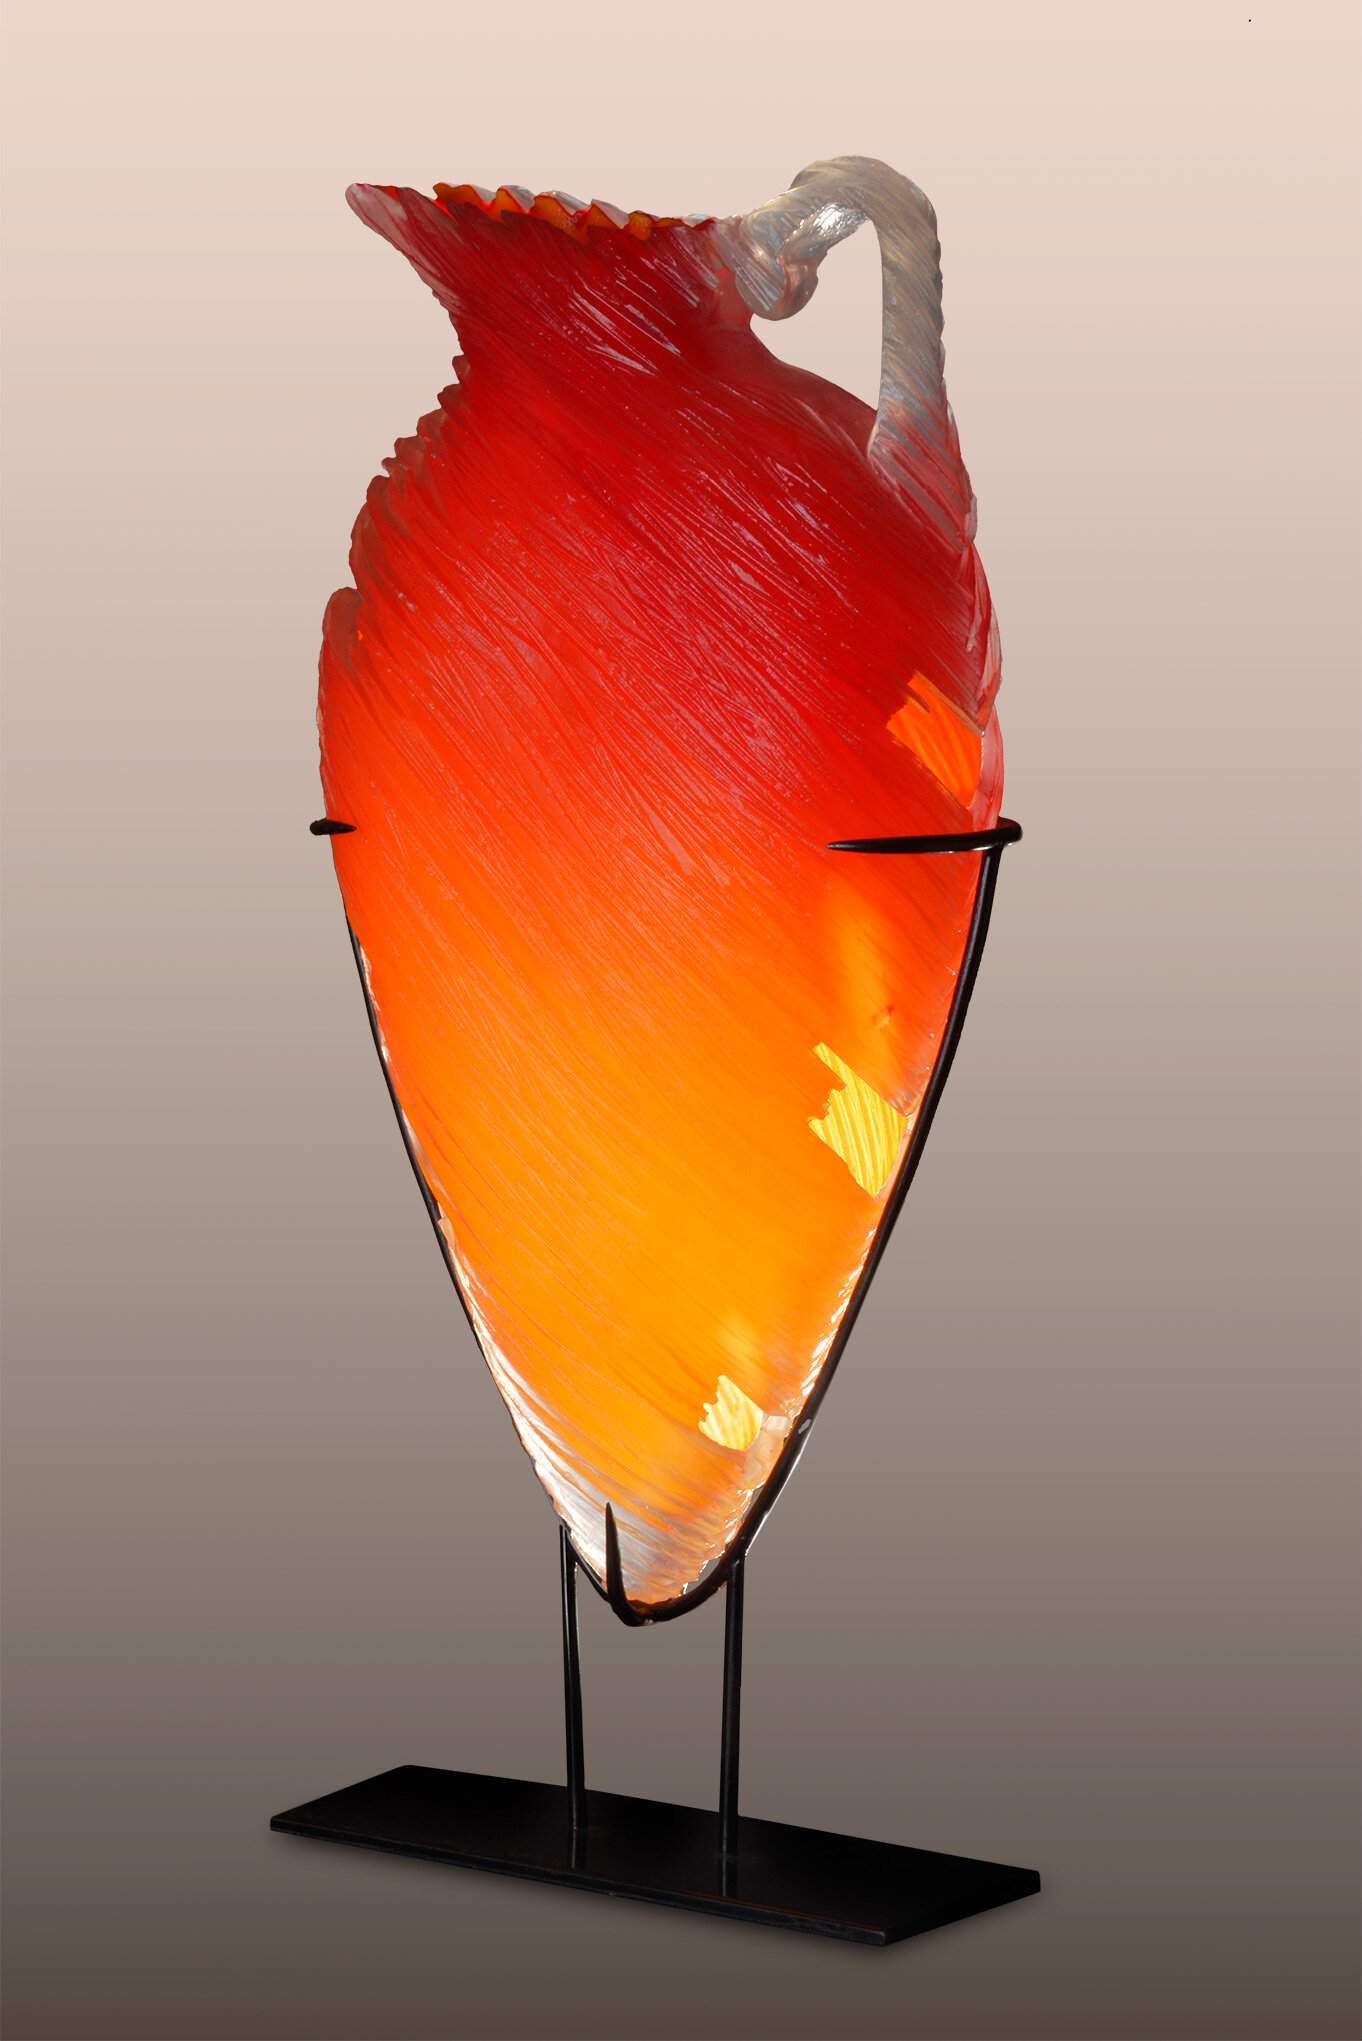


So the shoot here was in a fairly dark space, to avoid unwanted reflections. I used three flash heads with soft boxes. The whole kit, complete with lights, light stands, background stands and drapes, a remote trigger, cables, carry bag, cost around US$159. So an incredible price in order to get you started in studio flash photography. Have a look and see what they offer; www.neewer.com
All photography and information © Jon Davison 2021