CHANNELS
PHOTOSHOP
Channels
Channels make up the Modes or colour spaces used by Photoshop. For instance RGB = Red, Green and Blue (this is optimised for all screen delivery). CMYK = Cyan, Magenta, Yellow and Black (K is to avoid confusion with using B as it is the same as blue), this is optimised print for delivery).
So each of the colours within these modes are known as Channels, it is these that carry the content, so it stands to reason that you should be able to view your captured image in one of these colours, or Channels.
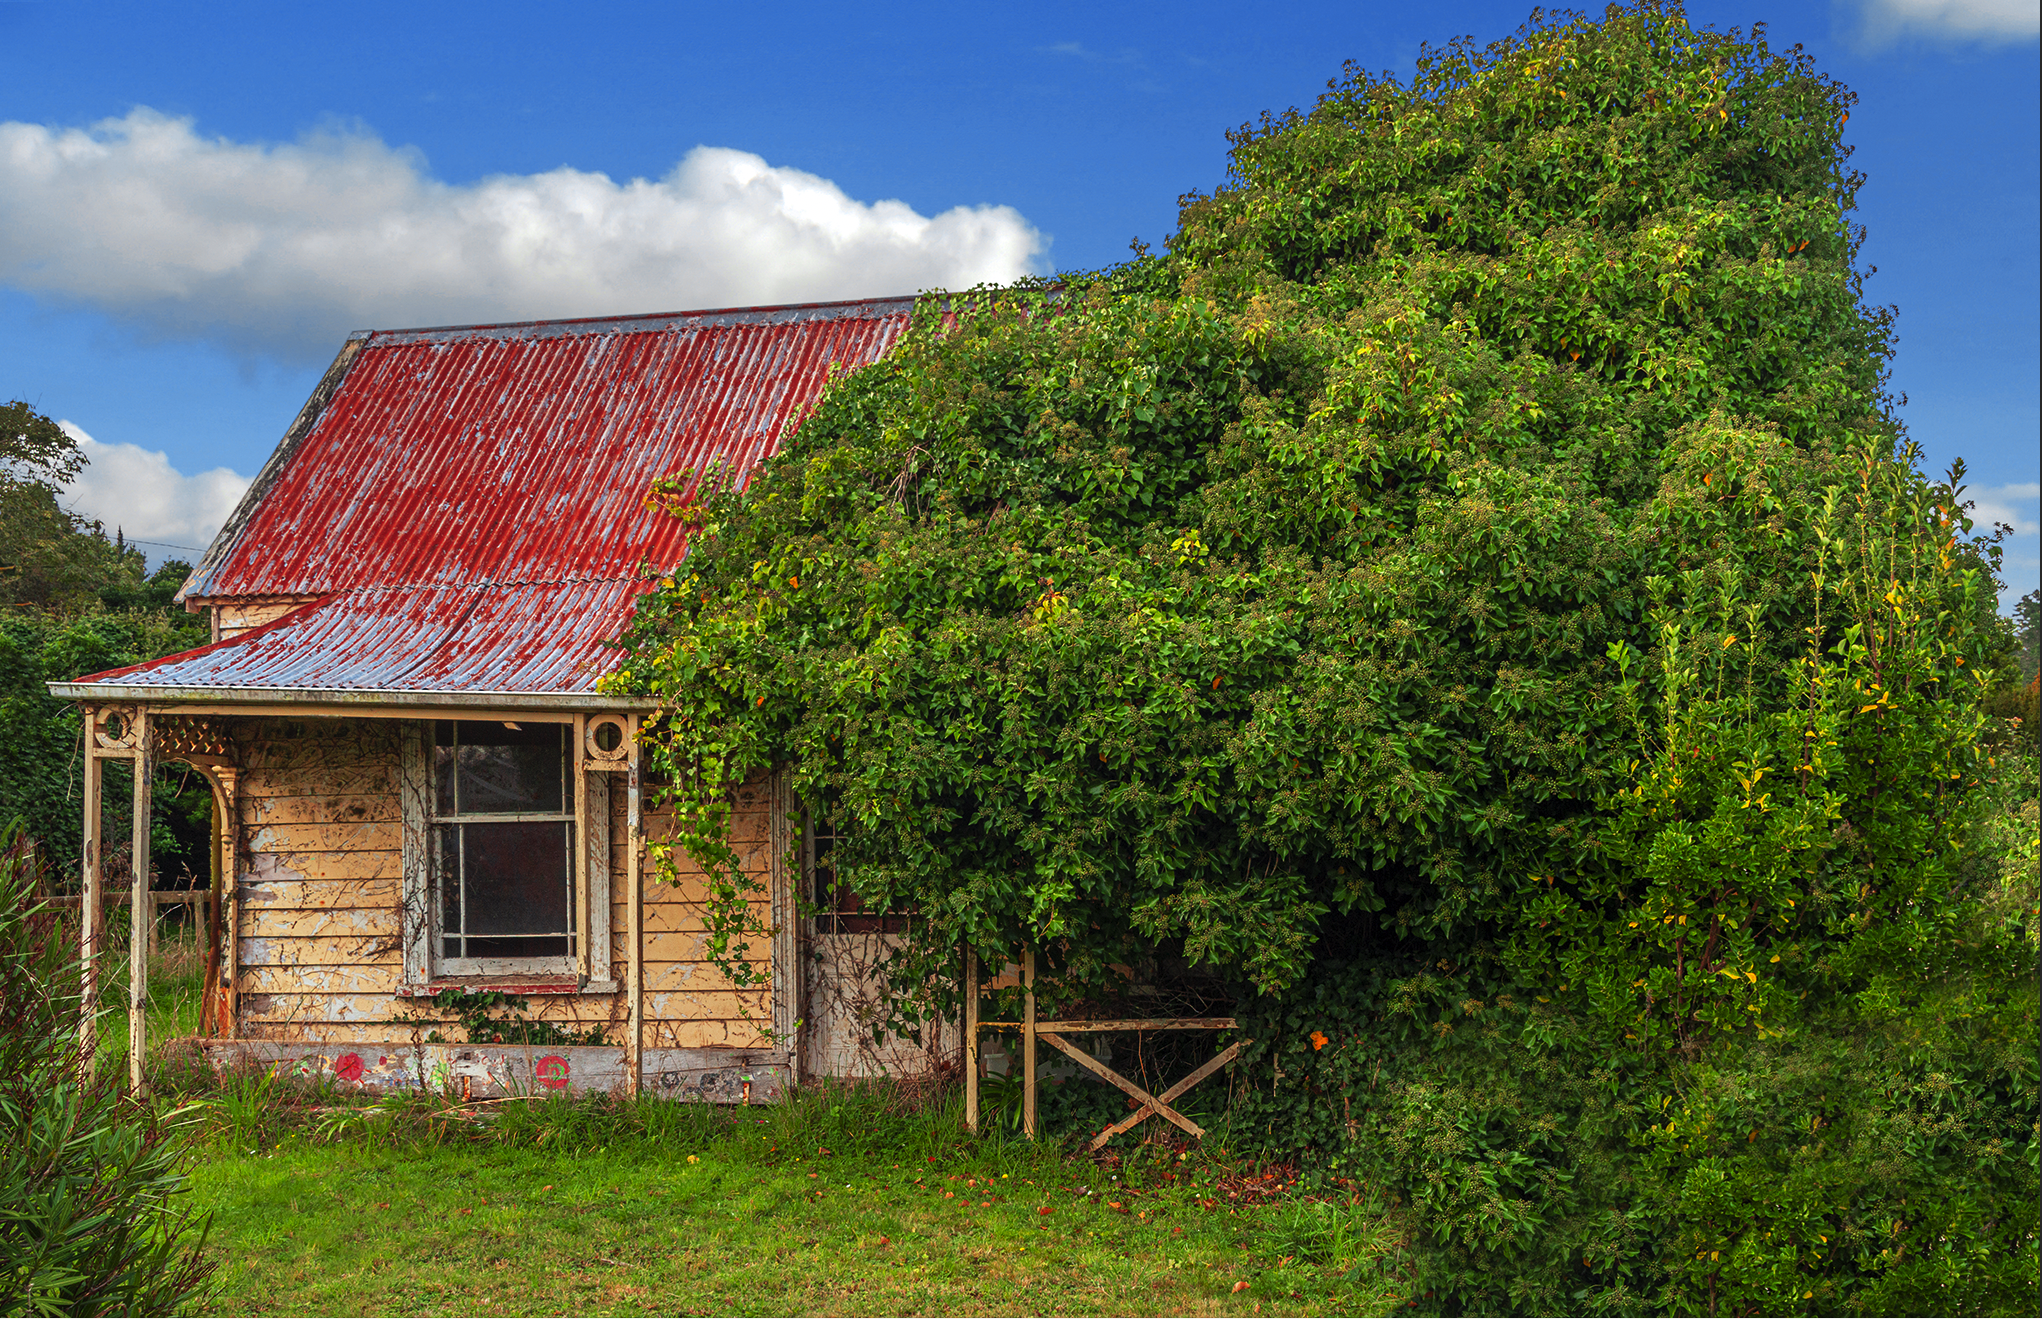
Looking at the mono images below you can see that the dominate colour of each channel appears lighter. For instance Red (lighter) passes red but blocks blue. Green (lighter) passes green and yellow, Blue (lighter) passes blue but blocks green and red. So you can see that most colours have varying degrees of other colours in the mix. The yellow wall is a mix of almost equal amounts of Red and Green, with a touch of Blue.
You can opt to have your Channels palette viewed as colour or mono, this is under Photoshop Preferences. The actual Channels palette is found under your Window dropdown menu. The command is Co-3 to 5 for RGB, and Co-3 to 6 for CMYK. Co-2 takes you back to the full colour mode.
In portraiture, using the Blue channel will make your subject look older, and red younger. So when converting your RGB image to mono, look at the channels first as you may prefer say the red channel, then convert to greyscale and save. Note the difference in the mono treatments compared to if you just desaturated the image overall to mono. So you have a number of options.
Now lets look at the same image as a CMYK file and its channels.
All photography and information © Jon Davison 2021


